Renew silicone joints
Here's how to do it step by step
Key points at a glance:
- Replace silicone caulk in a timely manner: If caulking becomes brittle, cracked, or moldy, it should be replaced to prevent moisture from penetrating the masonry.
- Thorough preparation: Old silicone must be completely removed, the surface thoroughly cleaned, and, if necessary, primed before the silicone joints are replaced.
- Work cleanly and allow it to dry thoroughly: New silicone should be applied evenly, smoothed out immediately, and then allowed to dry for a sufficient amount of time to ensure that the joint remains permanently sealed.
Step 1
Removing old silicone caulk
First, you need to determine whether the silicone caulk needs to be removed. If it is brittle, cracked, or chipped, replacing it is usually the best option. Removing mold from silicone caulk can also be complicated, so replacement is recommended if mold is present. Follow these steps to remove the old silicone caulk:

Close the drains
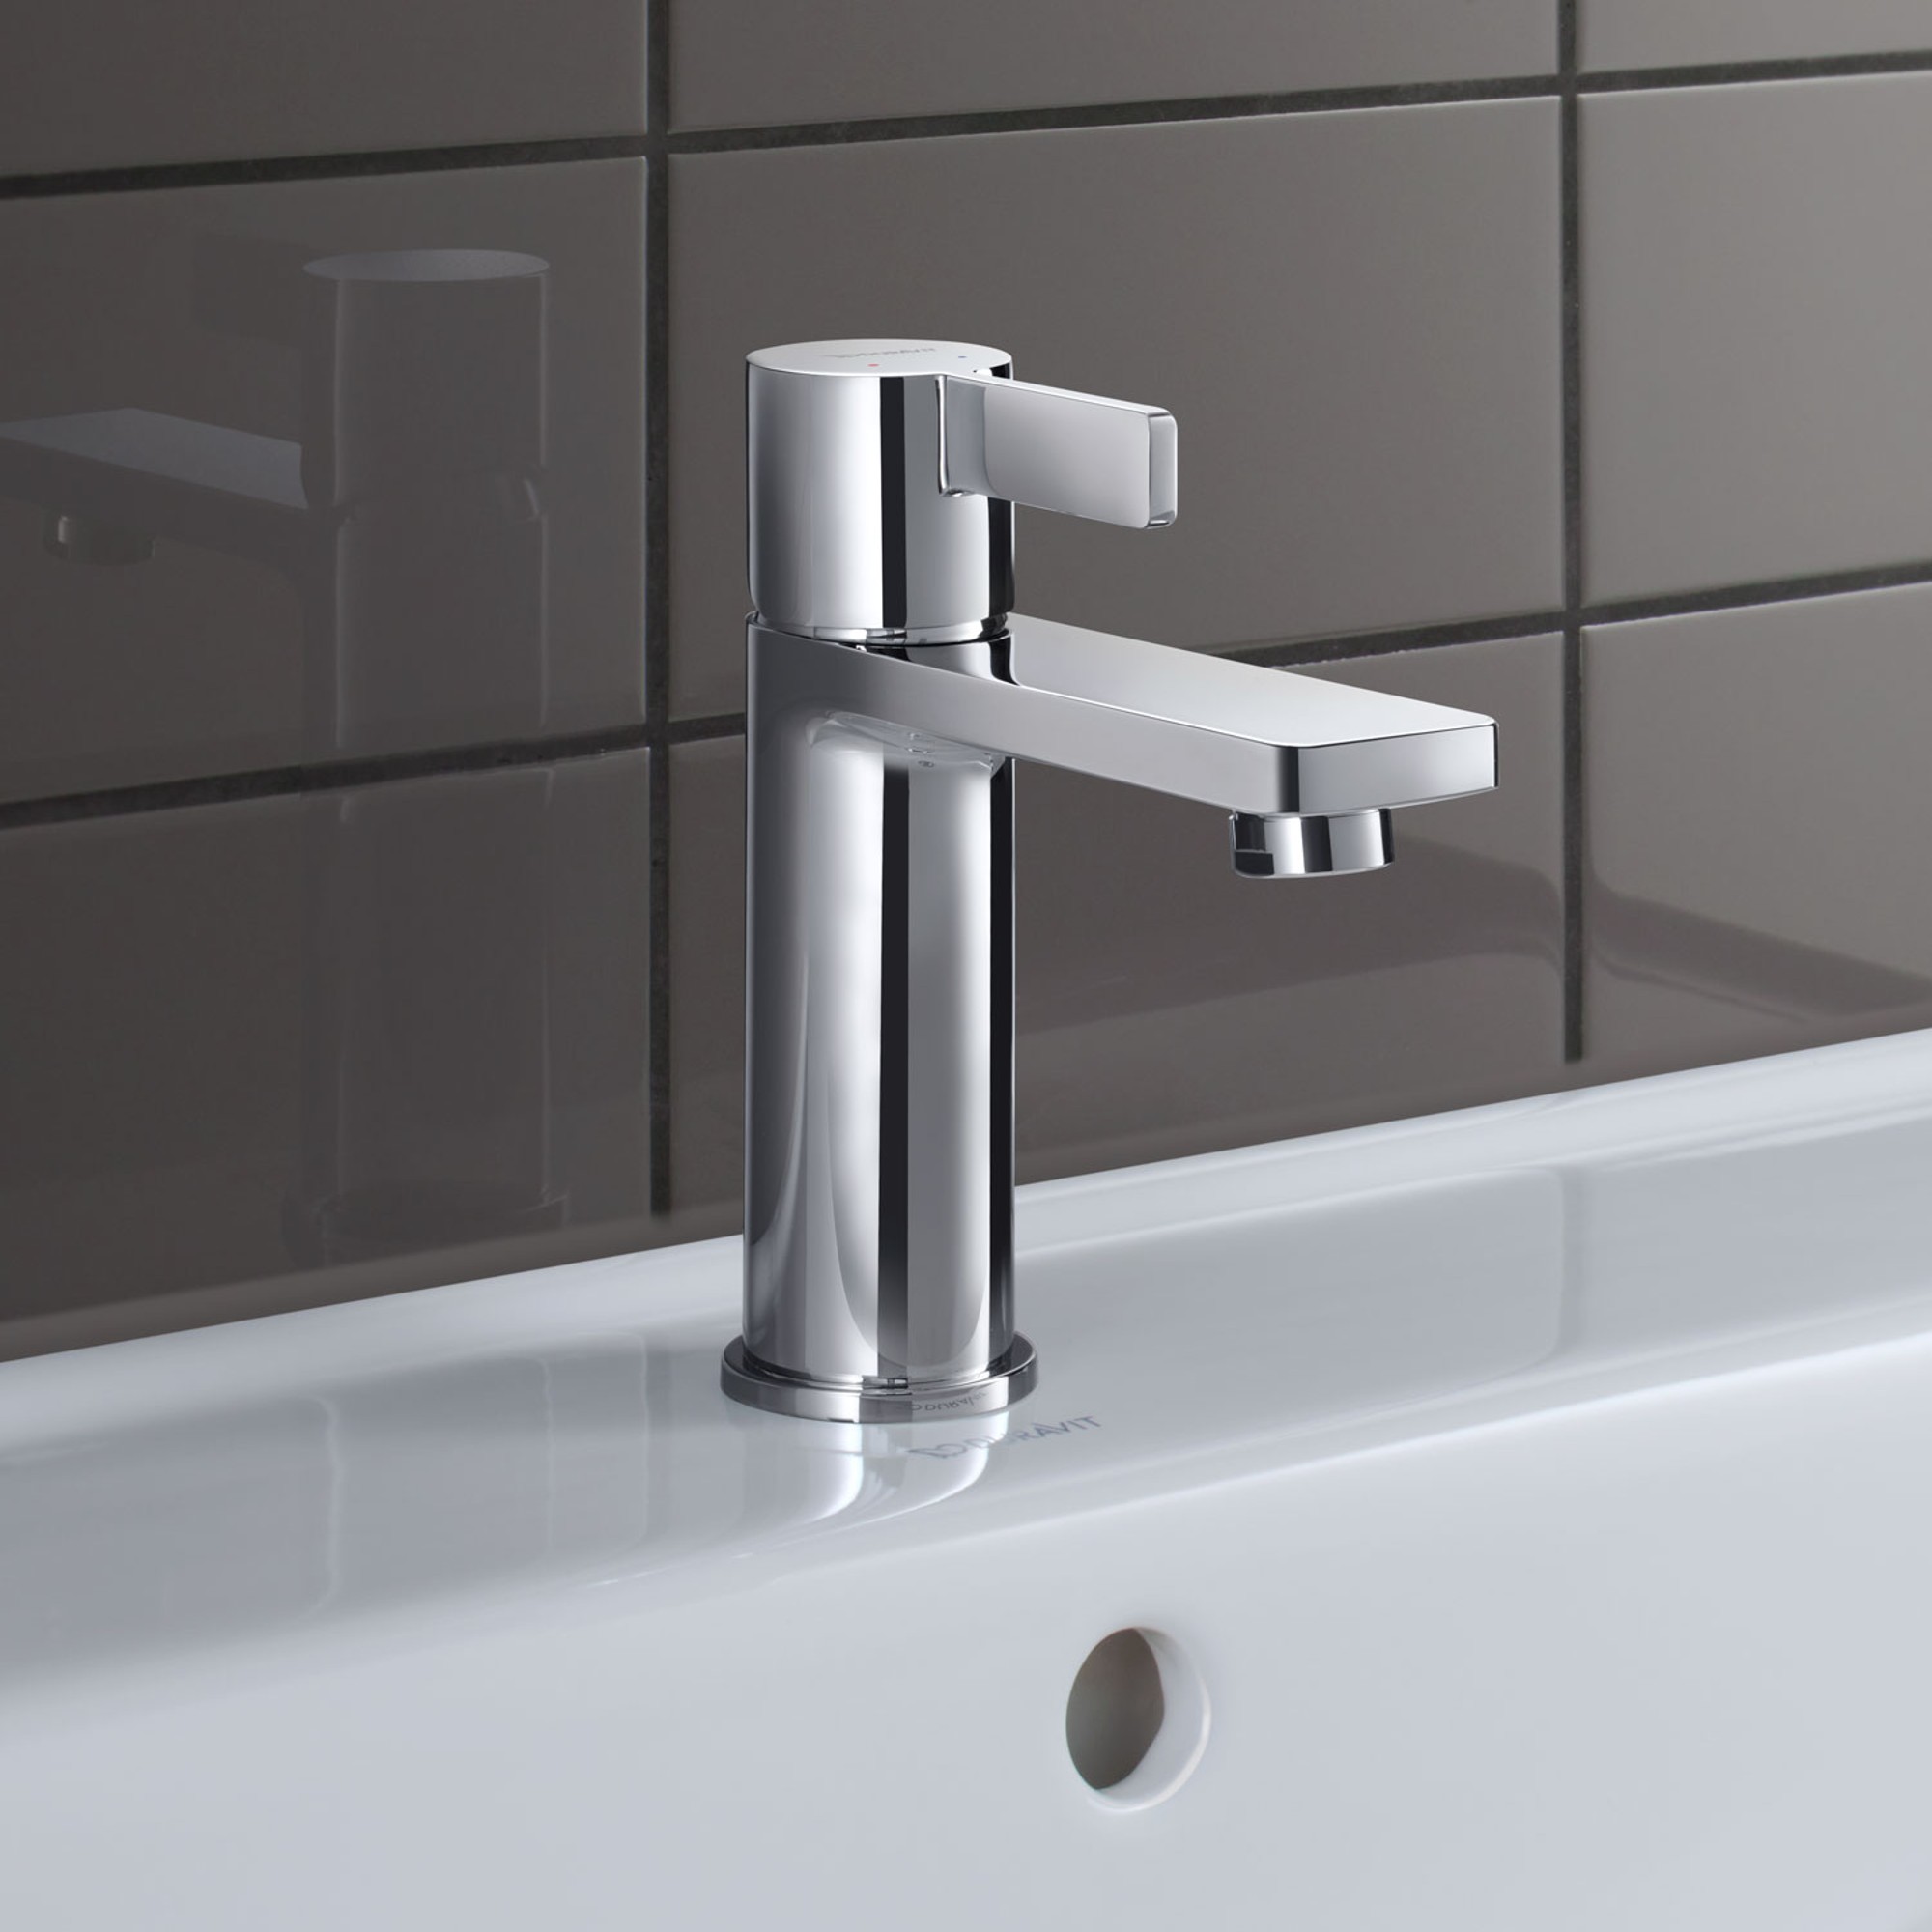
Remove silicone caulk
Step 2
Cleaning and preparing joints
Once the old caulk has been removed, don’t rush to apply the new silicone caulk right away. First, everything needs to be properly prepared. These steps should also be carried out thoroughly and without haste to ensure that the new silicone caulk achieves the desired clean result.
Tip: Here are instructions for cleaning grout in the bathroom.
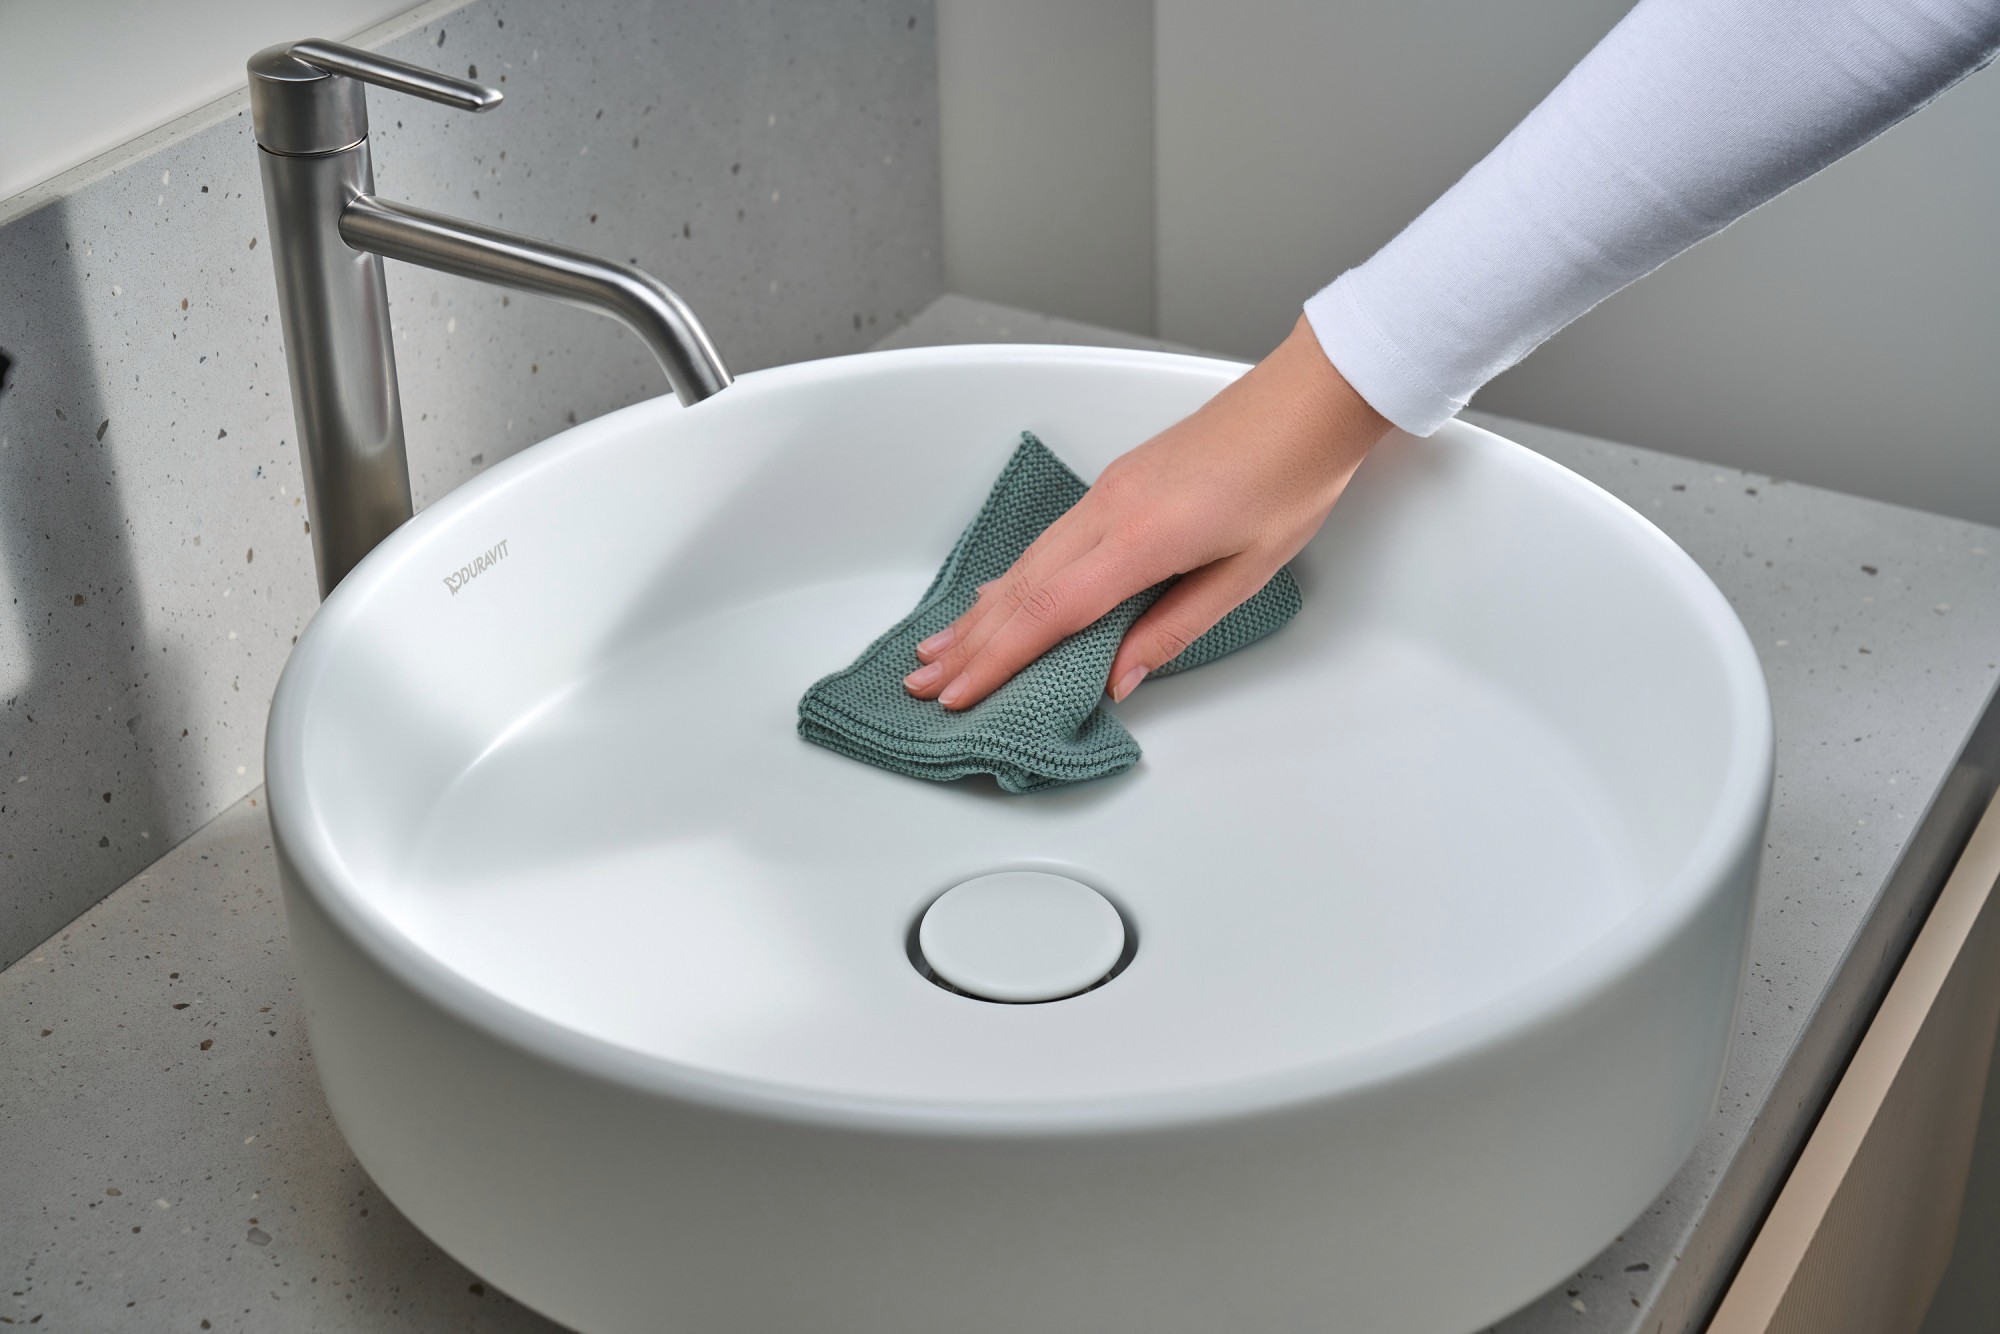
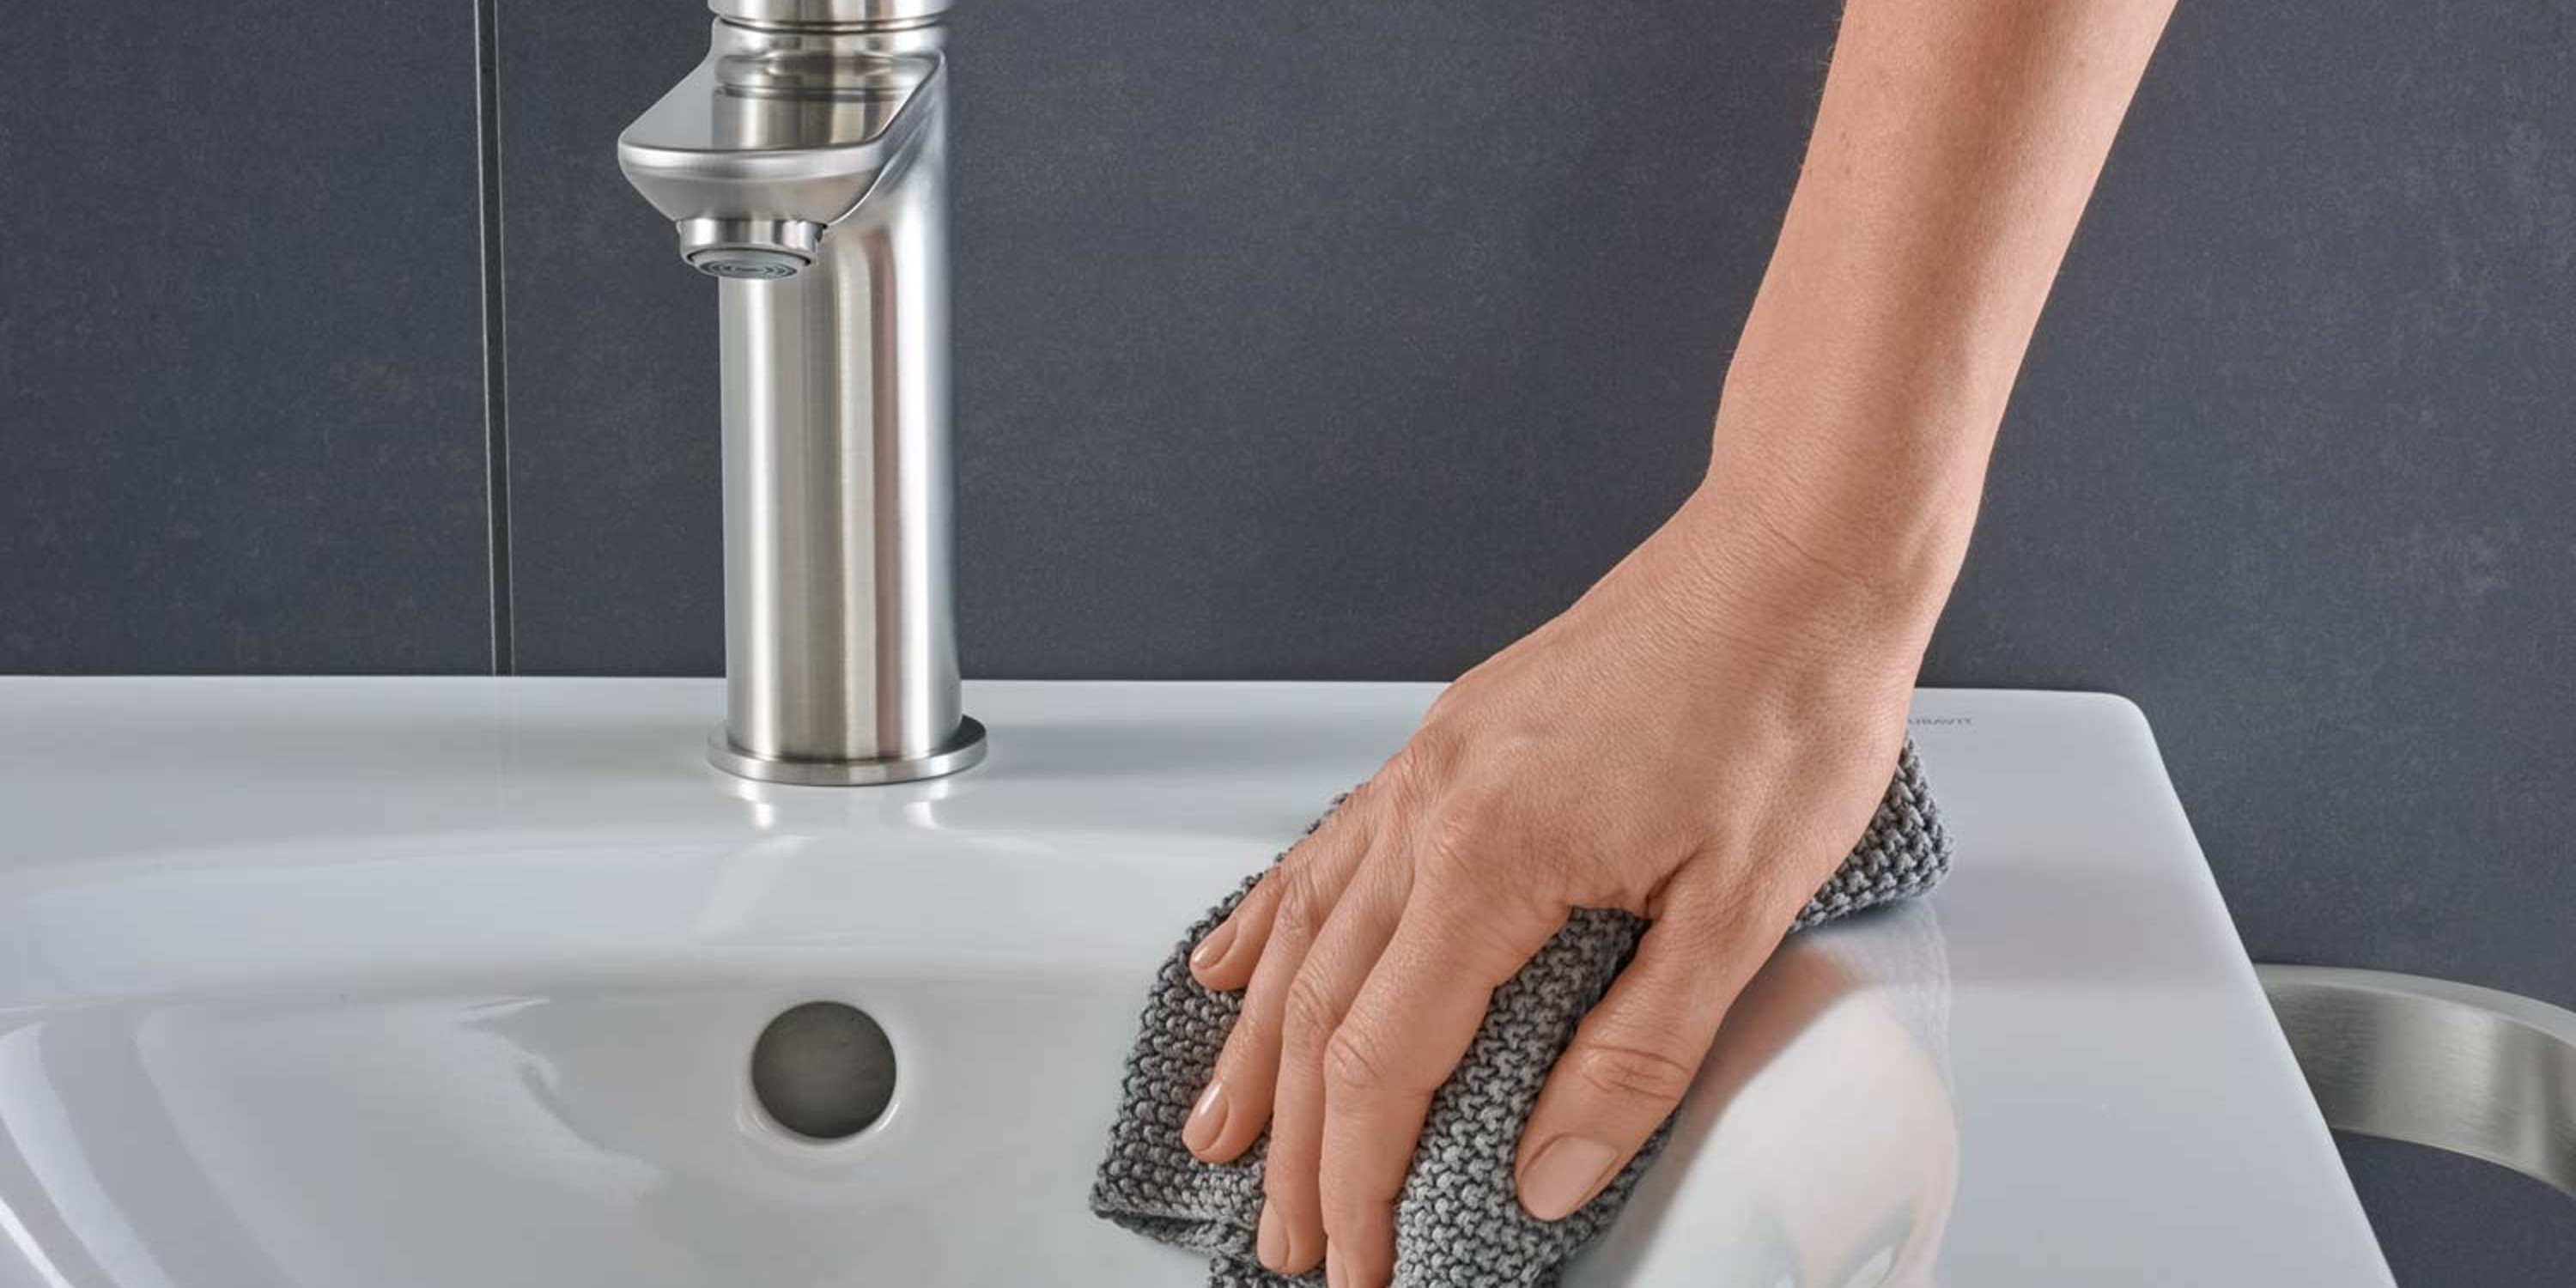
Clean the surrounding area

Mask off finishes

Priming with primer (optional)
Step 3
Apply new silicone caulk
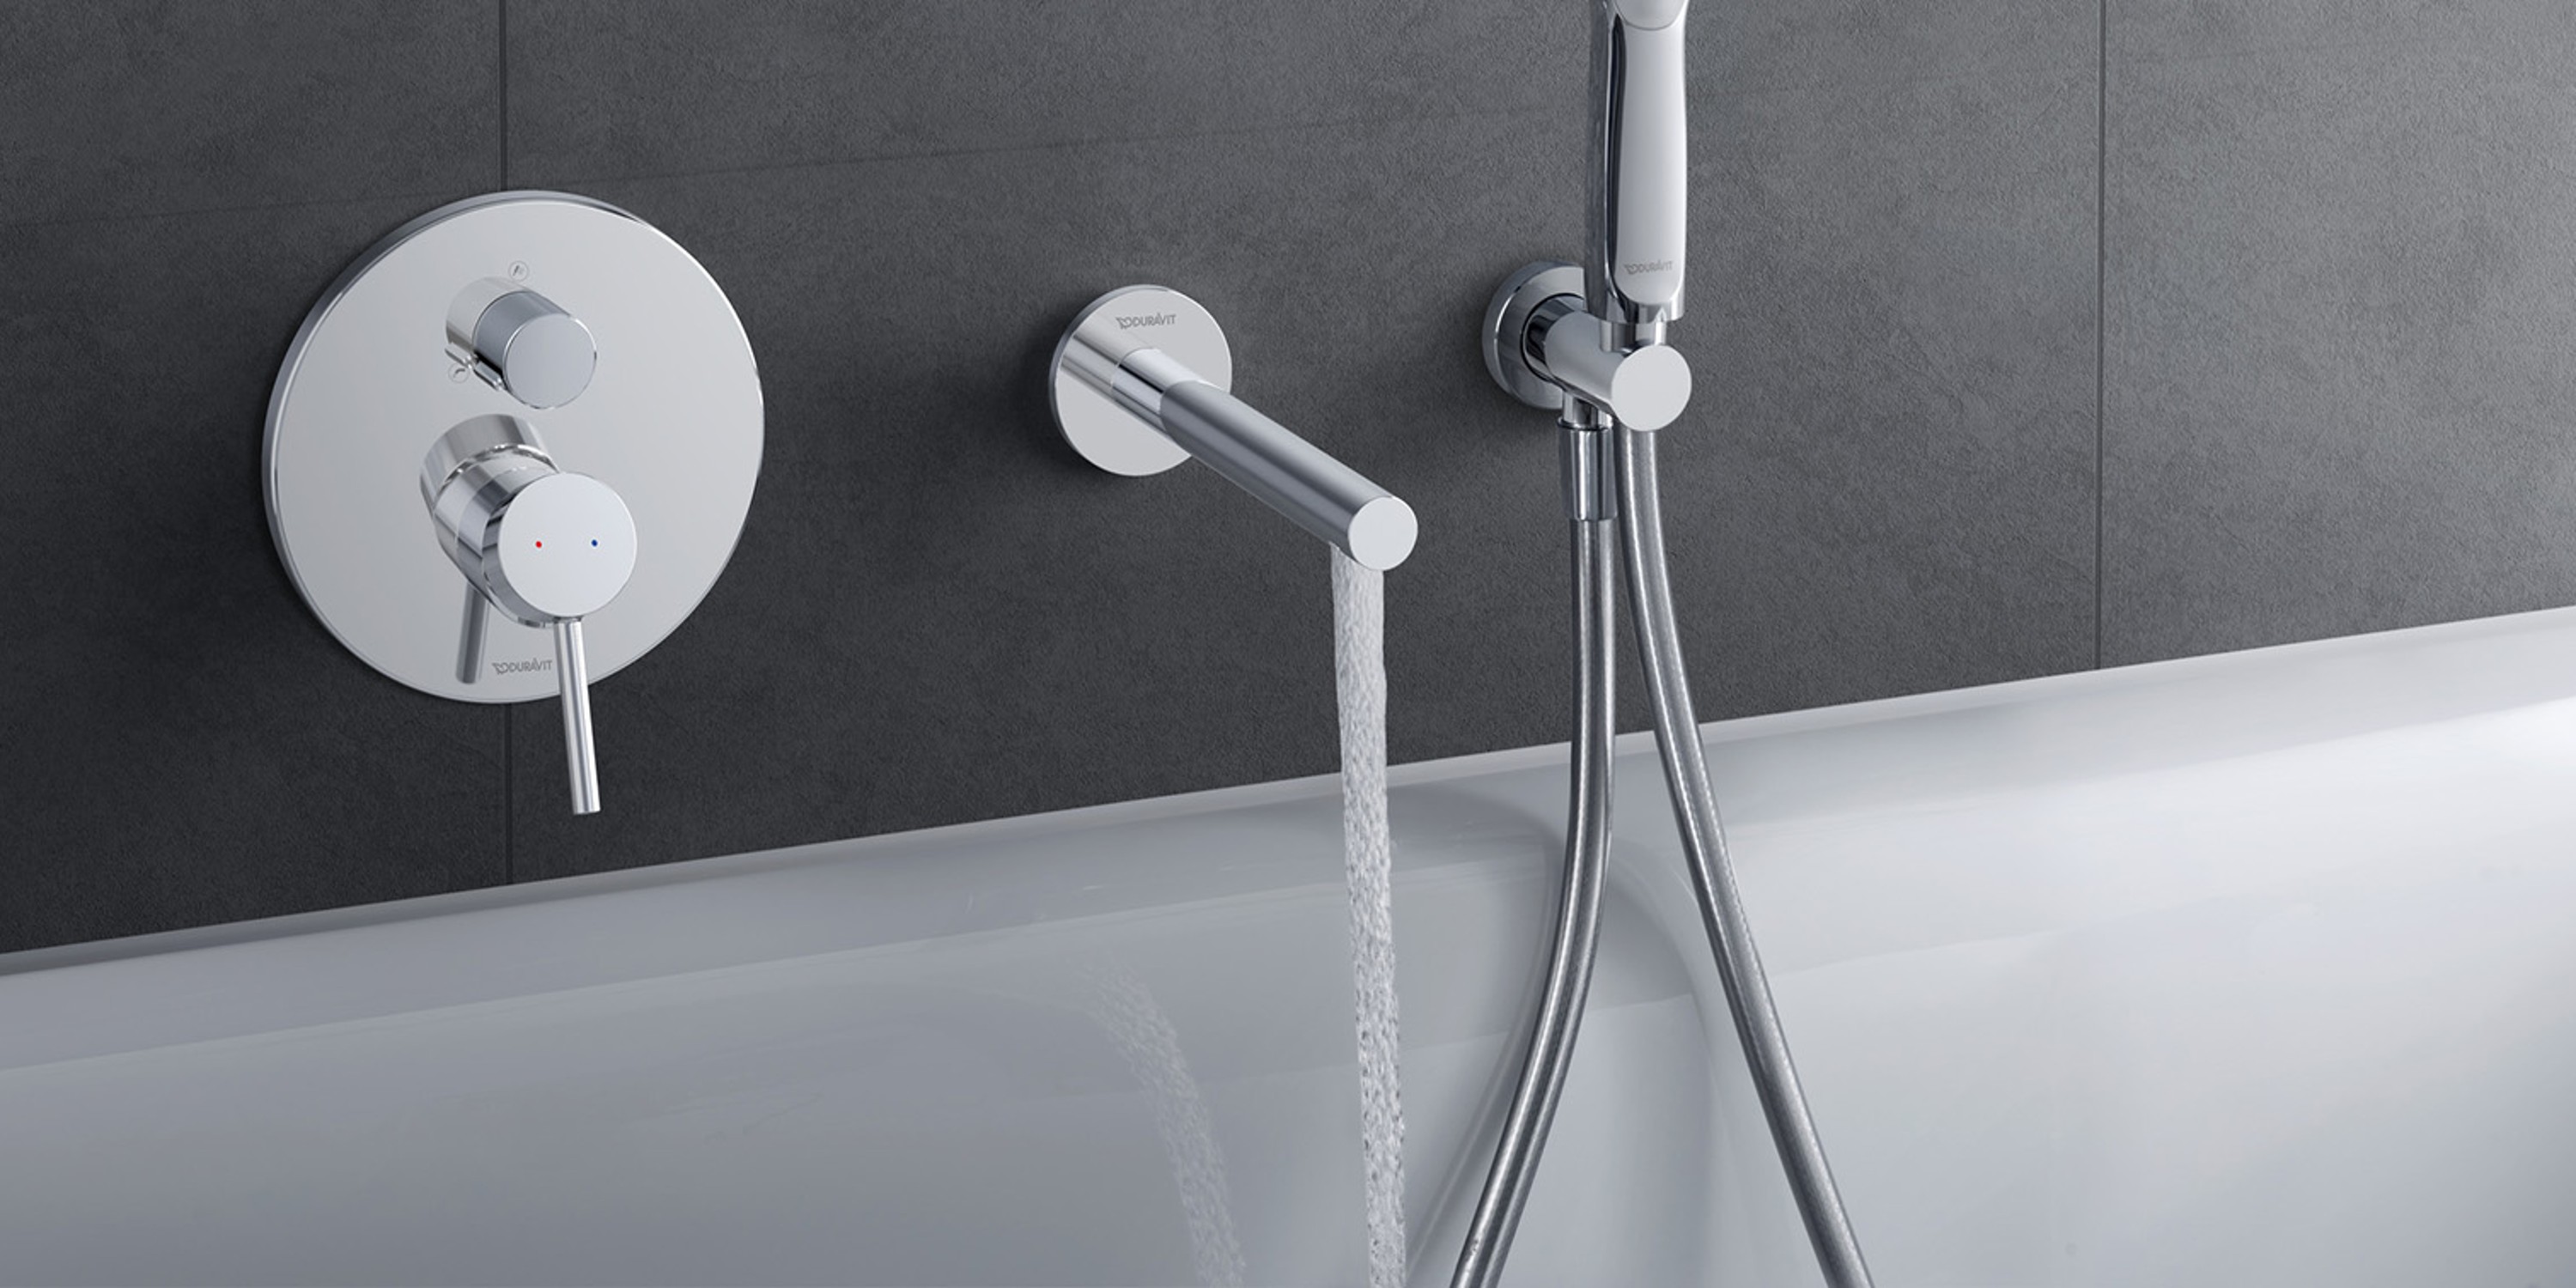
Once the preparations are complete, it’s time to replace the silicone in the tile grout lines. Keep in mind that silicone dries very quickly. Especially when working on larger areas, it’s best to finish and smooth out smaller sections completely (see Step 4) before applying silicone to the next grout lines.
Step 4
Smooth the joints and let them dry
After replacing the silicone caulk, it’s important to continue working quickly. The material takes only about 10 minutes to set. Before this happens, the following steps must be completed:
Spray with soapy water
First, spray the freshly applied silicone caulk with a mixture of dish soap and water. This will create a protective film on the surface.
Smoothing joints
You can then use a joint smoother to smooth out the new silicone joints and remove any excess material. Choose a joint smoother of the appropriate size based on the width of the joints.
Remove the tape
It is also essential to remove any adhesive tape before the silicone begins to dry. Otherwise, the freshly applied silicone joints may crack.
Let it dry
The final step can be done without any time pressure, as all you need to do now is wait for the silicone to cure. This can vary depending on the manufacturer, but it is recommended that you wait at least 24 hours before the silicone comes into contact with water.
By the way: If you don’t want to replace the silicone caulk every 5–8 years, or if you’d prefer a bathroom without tiles or grout for aesthetic reasons, you’ll find everything you need to know about grout-free bathrooms here.