Laying tiles
How to do it in the bathroom
Key points at a glance:
- Thorough preparation: A clean, level, and sealed surface, along with the right primer, ensures that tiles in the bathroom will stay securely in place for years to come.
- Precise installation: With a carefully planned layout, properly applied tile adhesive, and precisely spaced tiles, you’ll achieve a uniform and clean finish.
- Finish it right: Only proper grouting, cleaning, and sealing with silicone ensure that the tiled surface is functional, durable, and visually appealing.
Preparations for tiling
Before you start laying the tiles, there are a few preparatory steps you need to take:
Clean and level the surface
The entire surface to be tiled must be cleaned. In particular, ensure that the surface is dry and that any unevenness is removed. If the substrate is uneven, this can be corrected using a leveling compound.
Primer or bonding primer
Depending on the finish, a primer may be required next. For absorbent finishes (e.g., cement screed), use a deep-penetrating primer; for non-absorbent finishes (e.g., concrete), use an adhesion primer.
Waterproofing coating or decoupling mats
Next, the floor must be sealed. This can be done either with a liquid sealant applied in two coats or with so-called decoupling mats, which are adhered to the subfloor. In the latter case, a 0.5-centimeter gap should be left between the mats and the walls to serve as an expansion joint for the tiles.
Plan the laying pattern
There are various ways to lay tiles, with parallel and diagonal patterns being the most common. The latter is particularly effective at making uneven walls less noticeable.
Mixing tile grout
Even when the brand color is the same, tiles often vary slightly in shade depending on the package. To ensure an even color distribution, it is therefore recommended to mix tiles from different packages—this way, minor color differences are barely noticeable.
Laying the tiles
Once the preparations are complete, it’s time to move on to the actual process of laying the tiles:
Mix and apply tile adhesive
Next, mix the selected tile adhesive. You should only prepare as much as can be used in a single step before it starts to set—usually enough to cover an area of about 1–1.5 m². Apply the adhesive there to a thickness of 5–10 mm.
Tiling
Next, the tiles are adhered to the substrate. Press them down gently, but not all the way to the substrate. Tile spacers can be used to ensure the correct spacing for the grout lines. It is important to be meticulous here and to check your work repeatedly—corrections can still be made before the adhesive dries.
Tip: When installing wall tiles, work from the bottom up. Be sure to use tile spacers at the base. It’s a good idea to periodically check the top edge of the tiles with a spirit level and, if necessary, make slight adjustments using the tile spacers.
Cut the tiles to size (if necessary)
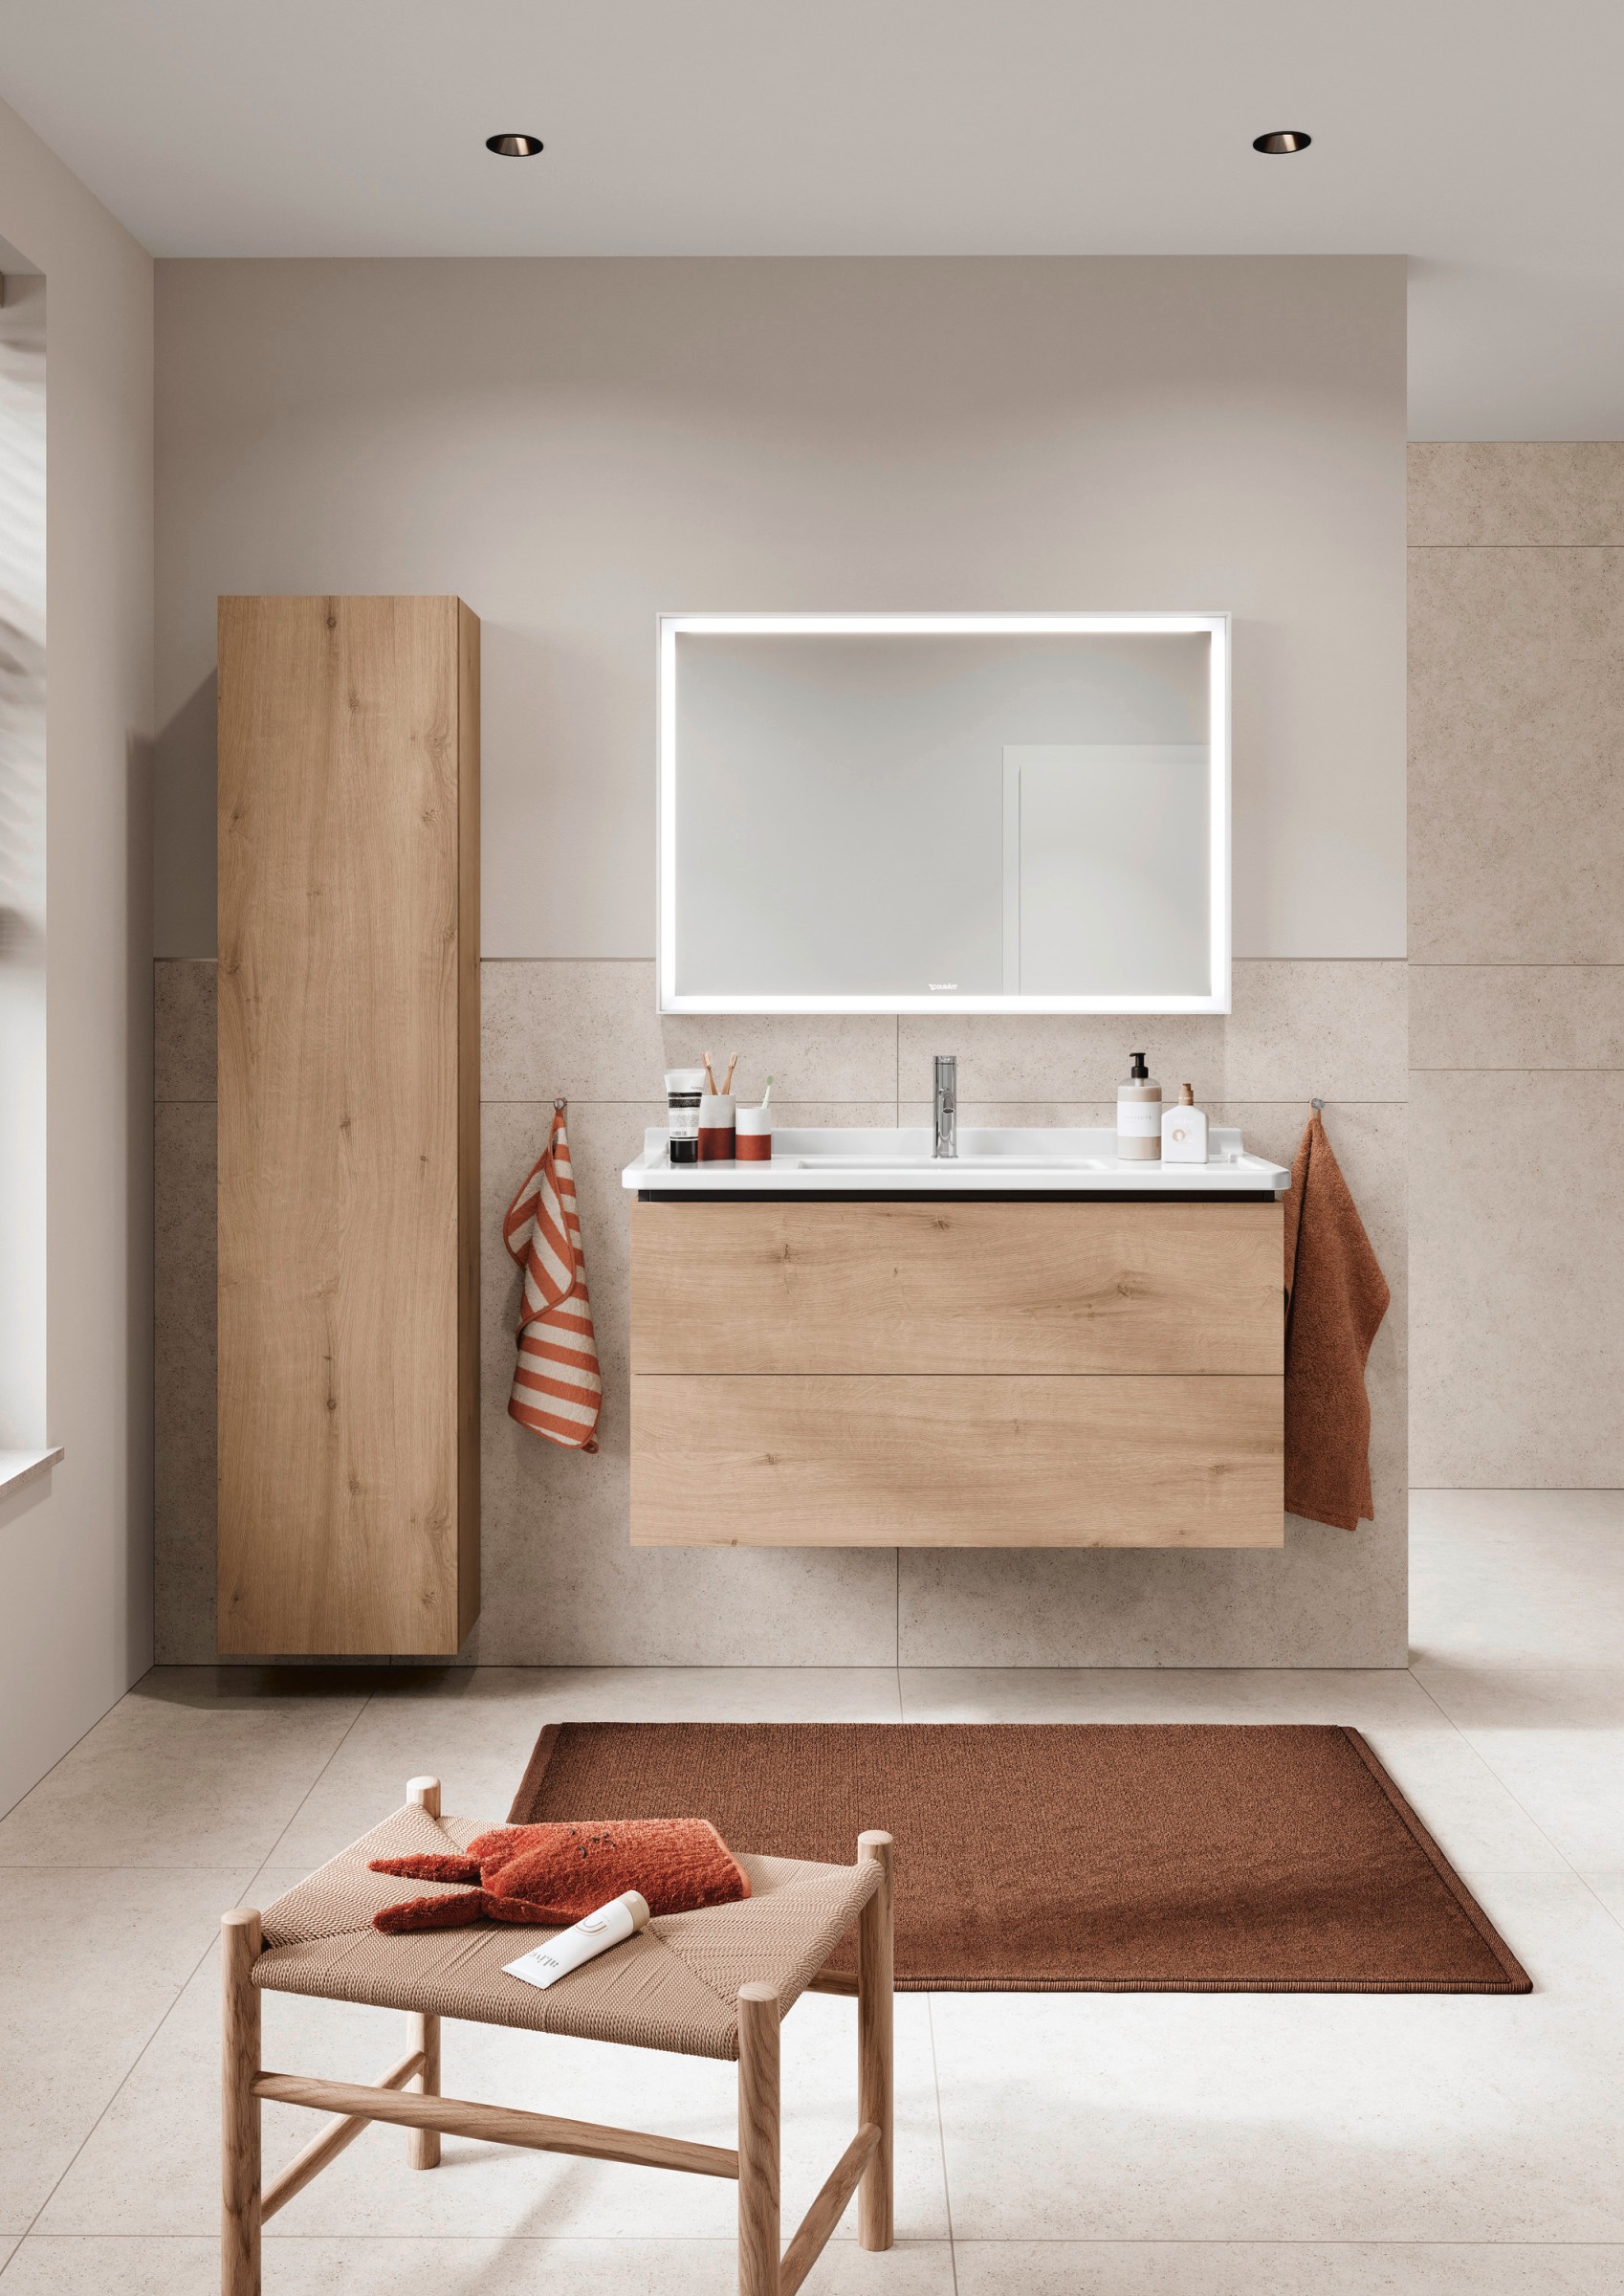
Edge tiles can now be cut to size. This requires a special tile cutter. In this case as well, it is important to measure and cut with great precision.
After laying the tiles
Repeat these steps until the entire desired area has been tiled. Afterward, there are a few important steps to take:
Grouting tiles
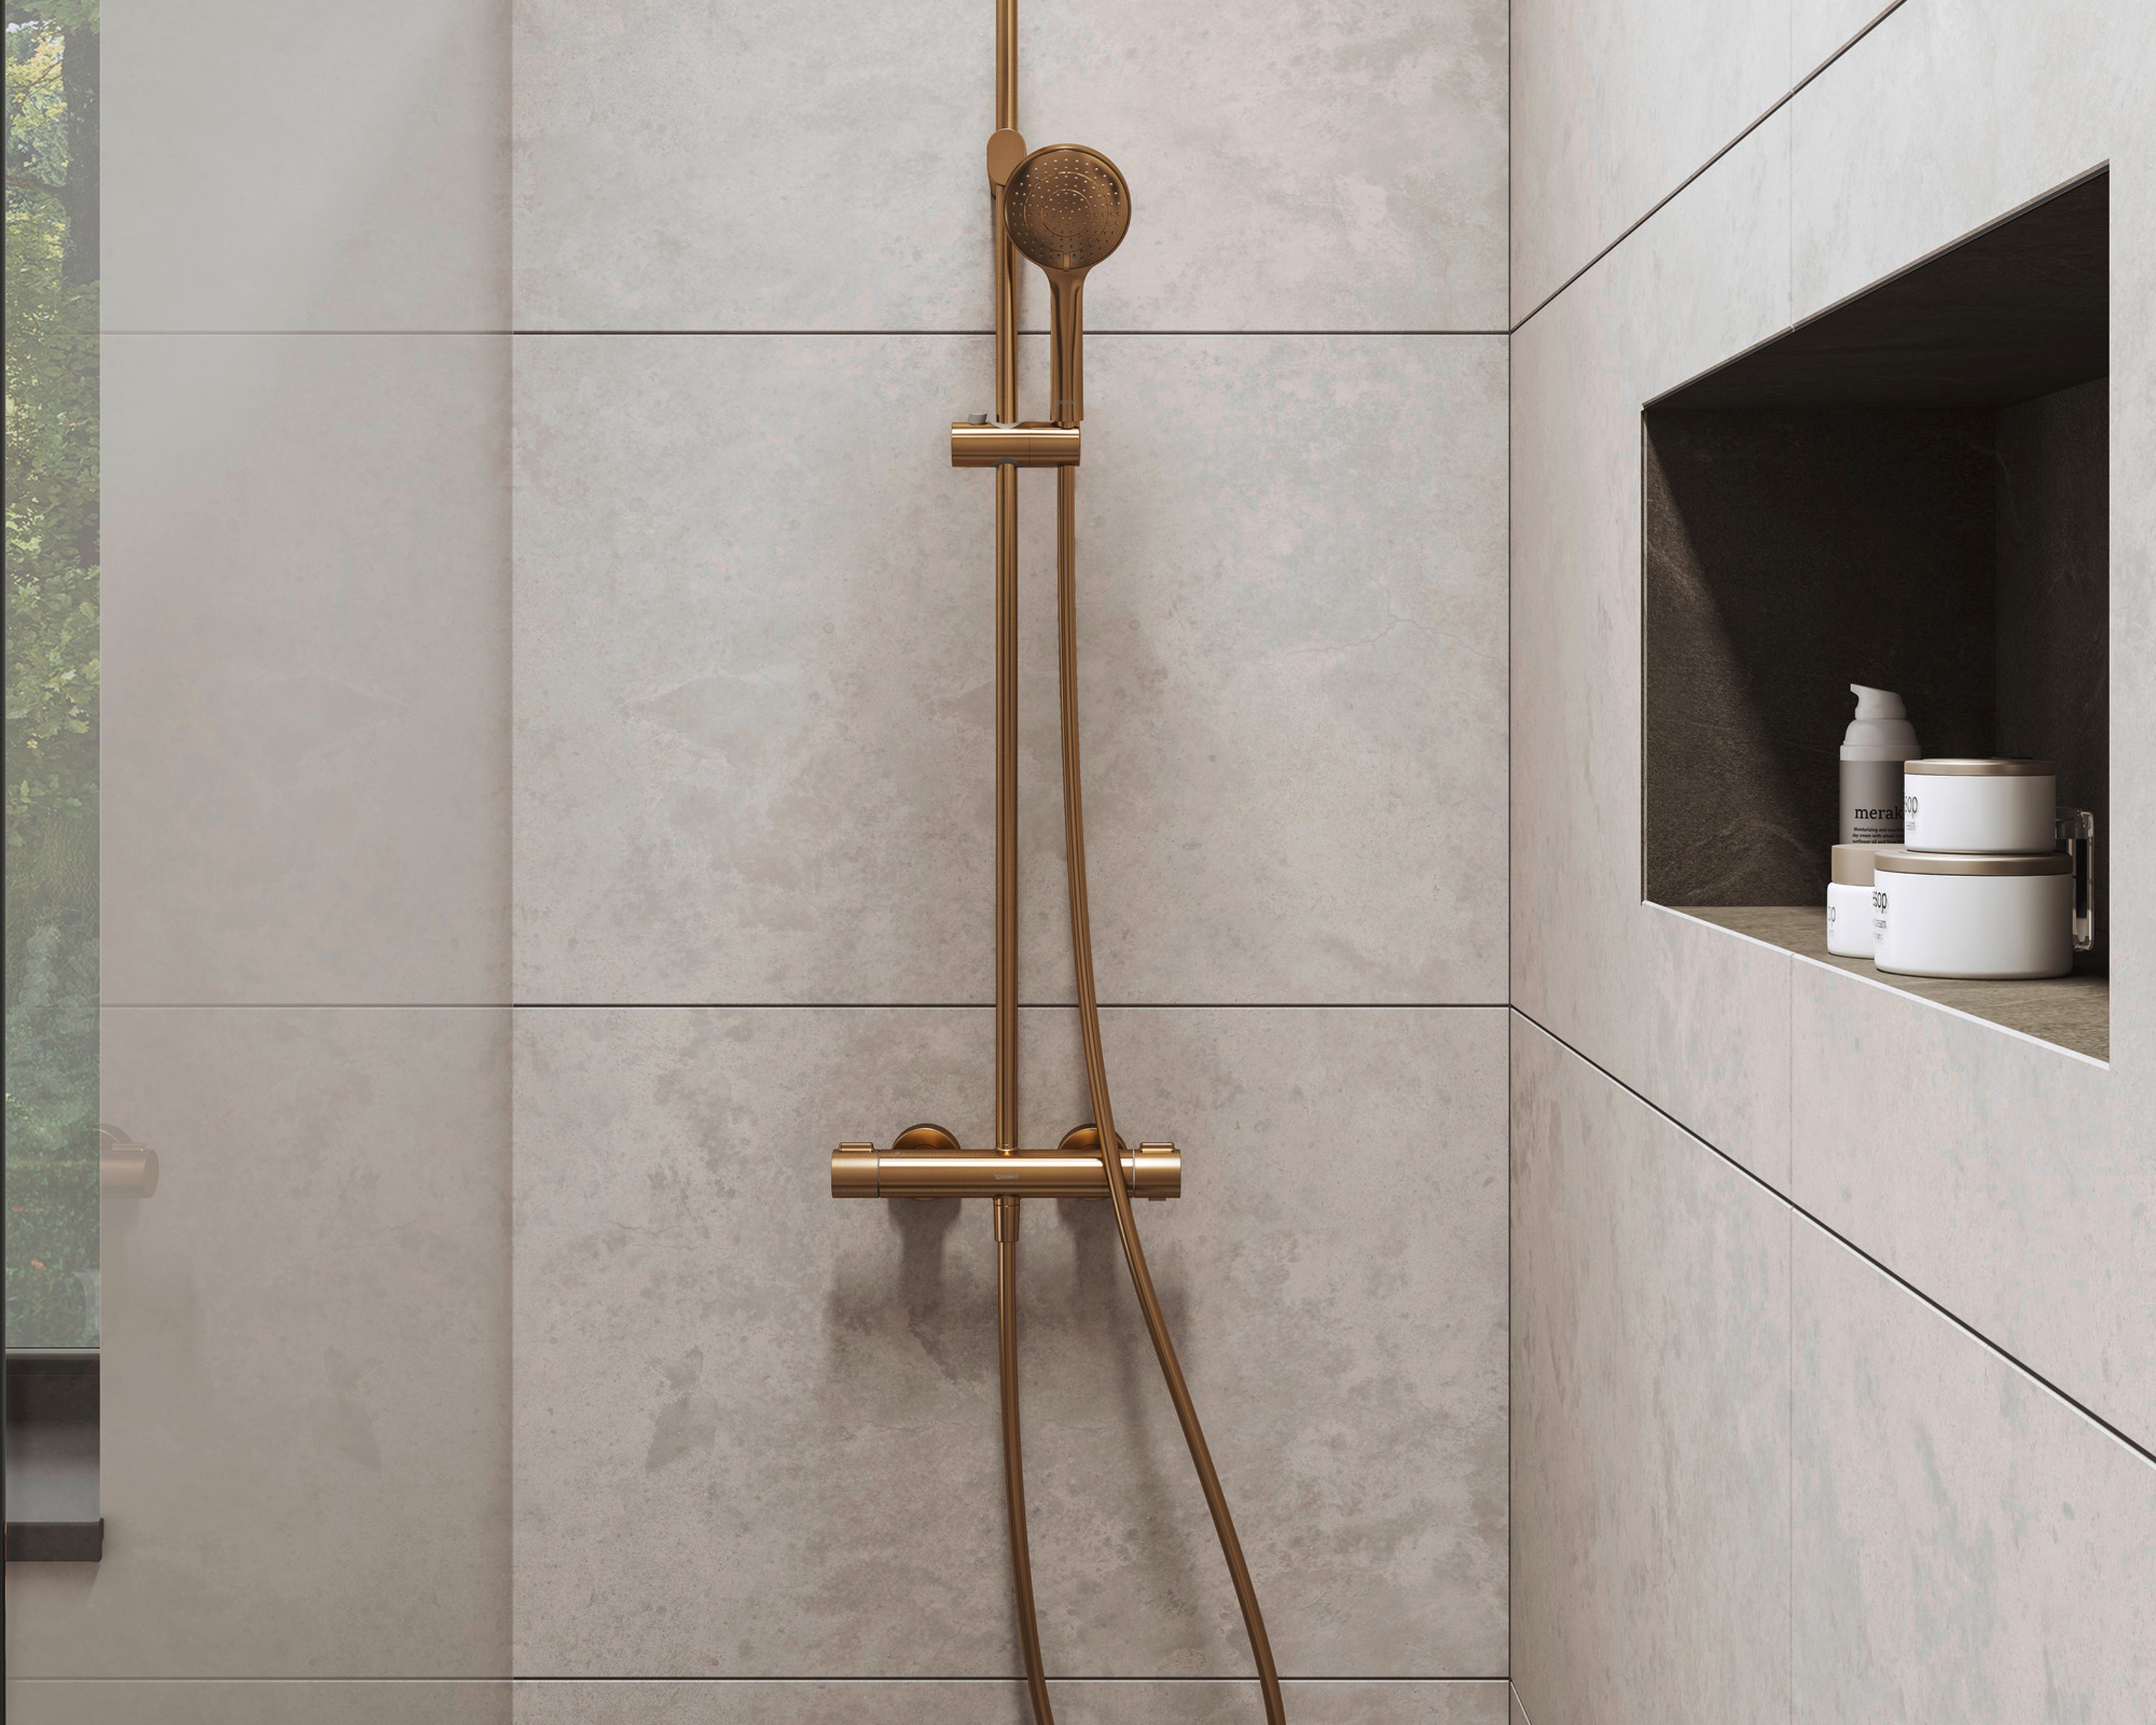
The tiled surface now needs to be grouted. When to grout the tiles depends on the tile adhesive—it must be fully cured. With flexible mortar, this usually takes about 12 hours; with tile adhesive, 24 hours. In any case, you should follow the instructions on the package. The grout can then be spread using a grout float. When laying floor tiles, you need a thinner mixture; when installing wall tiles, the grout should be thicker.
Cleaning Tiles
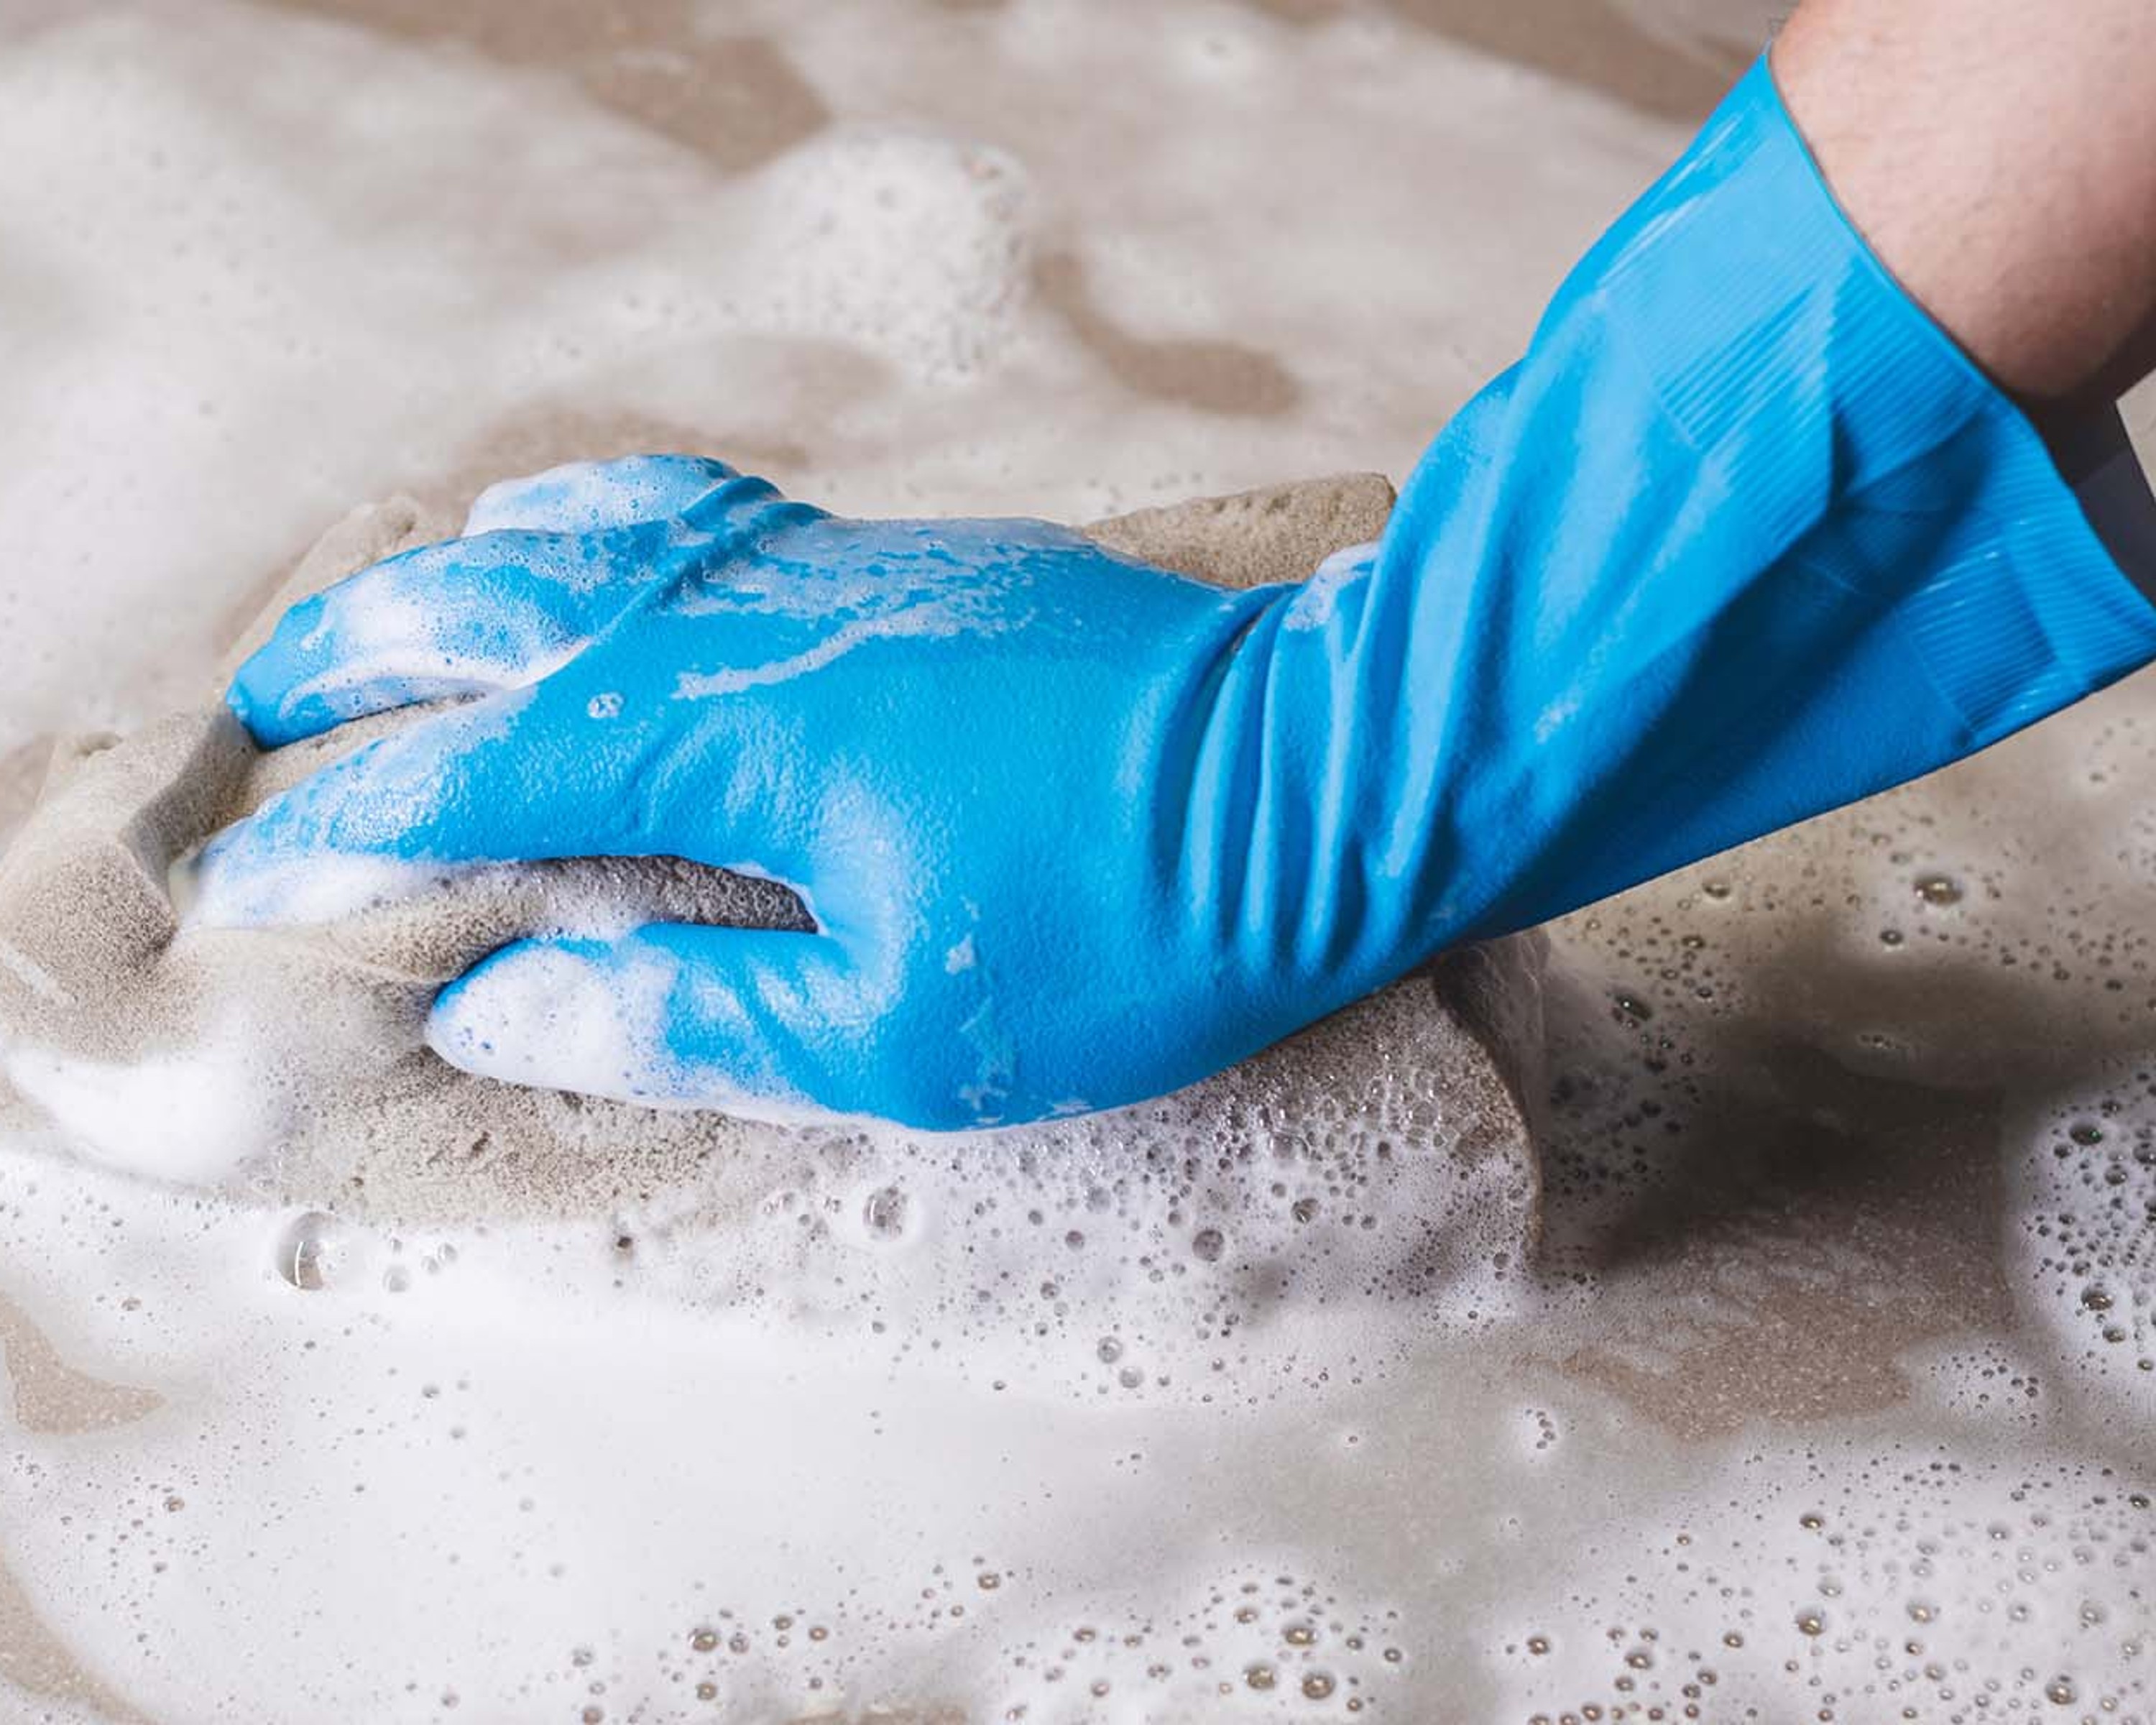
Once the grout has dried slightly, it’s time to clean the tiles. The grout shouldn’t be completely dry yet, so that it can still be washed off the tiles.
Installing expansion joints and silicone joints
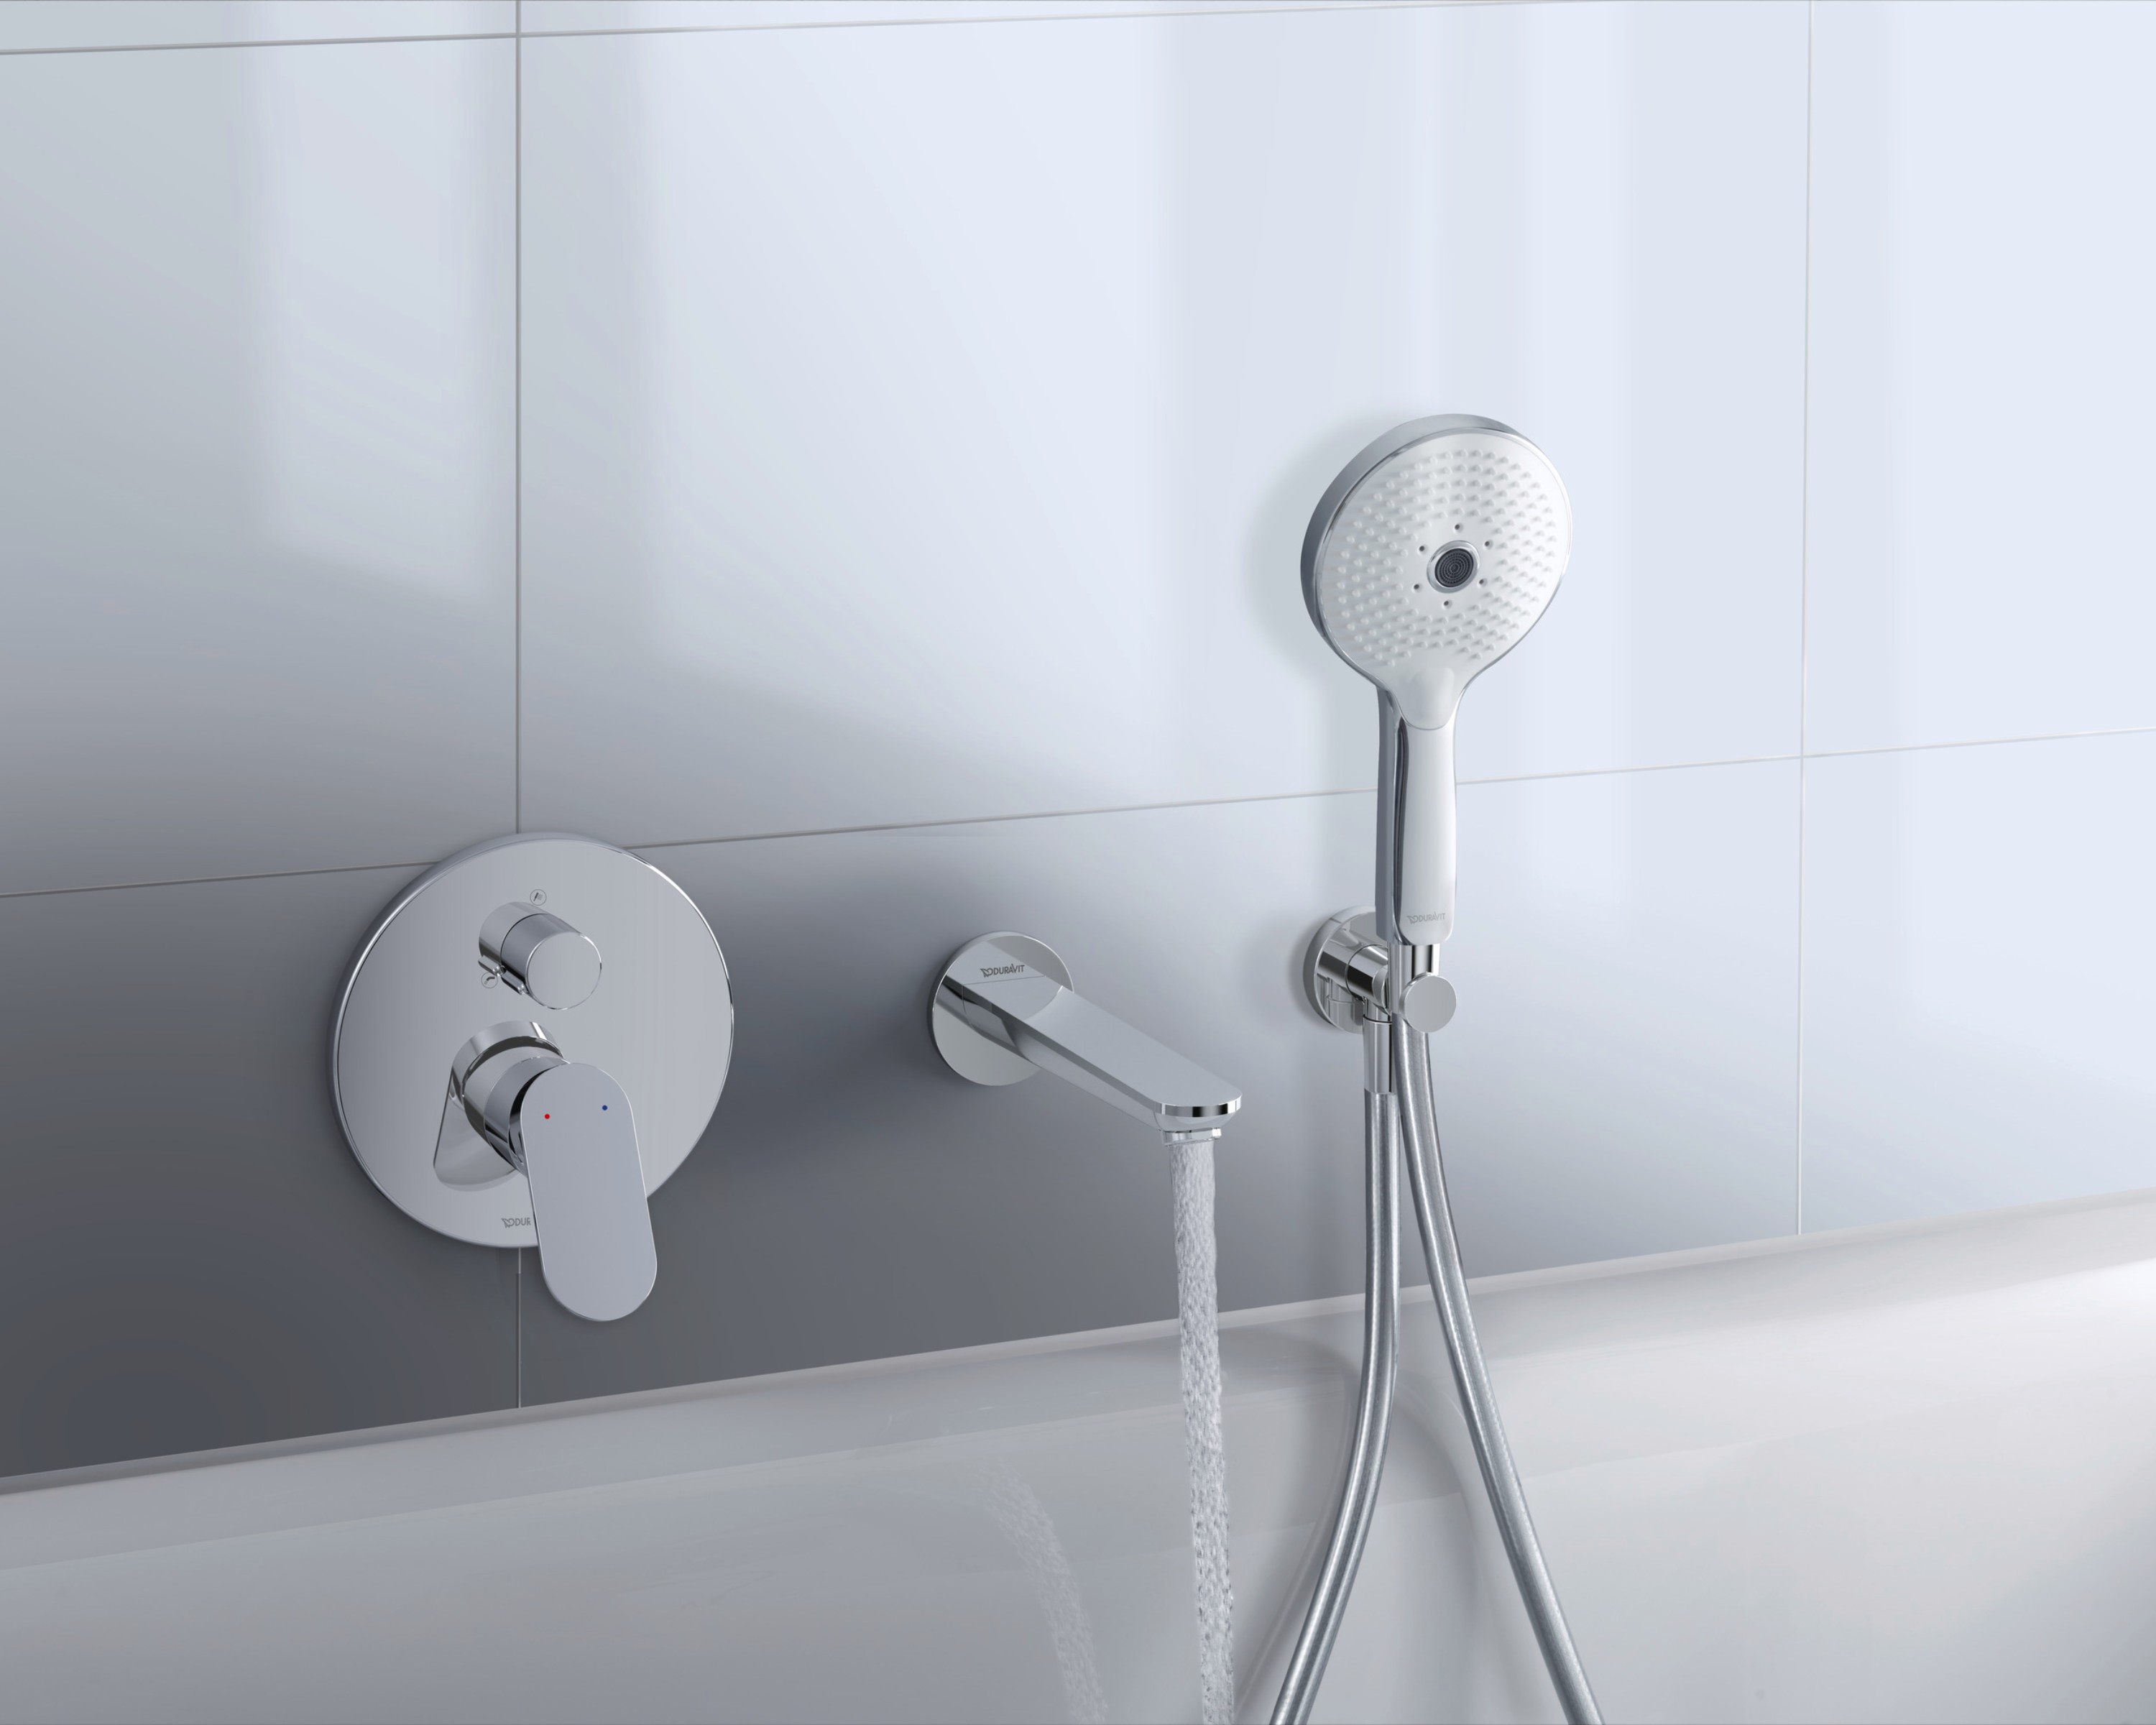
As a final step, you’ll need to apply silicone caulk along the edges of the tiles, at the transitions between the wall and floor, and in areas where water splashes are likely to occur. You can find detailed instructions on how to do this in our article: Removing & Replacing Silicone Caulk.
Frequently Asked Questions About Tile Installation
Can tiles be installed without adhesive?
Standard tiles are always installed using adhesive. However, there are now a few specialty retailers that offer special adhesive-free tiles.
Can you tile over existing tile?
Yes, you can tile over existing tiles if removing the old ones would be too much of a hassle. The basic procedure is the same as when laying tiles on other types of subfloors. It is important to choose the right adhesive: cement-based flexible adhesive or emulsion-based adhesive are recommended.
Can tiles be installed on wood?
In principle, tiles can also be installed on wood. However, since wood is a much more flexible substrate, it is essential to use decoupling mats. For wet areas such as bathrooms, these mats are also available with a polyethylene moisture barrier.
When will the tiles be ready to walk on?
Once the tiles have been laid, the drying time depends on the adhesive and the substrate. With flexible mortar, it generally takes about 12 hours before the surface is walkable and about 3 days before it can withstand full weight. With tile adhesive, it takes 24 hours before the tiles are walkable, and the surface should not be subjected to full weight until about 7 days have passed.
What tools do you need to lay tiles?
You don’t really need many tools to lay tiles. In any case, you should have a tile cutter and a grout float on hand. A utility knife is useful for cutting the decoupling mats, and you’ll need a bucket and a drill with mixing attachments to mix the tile adhesive.