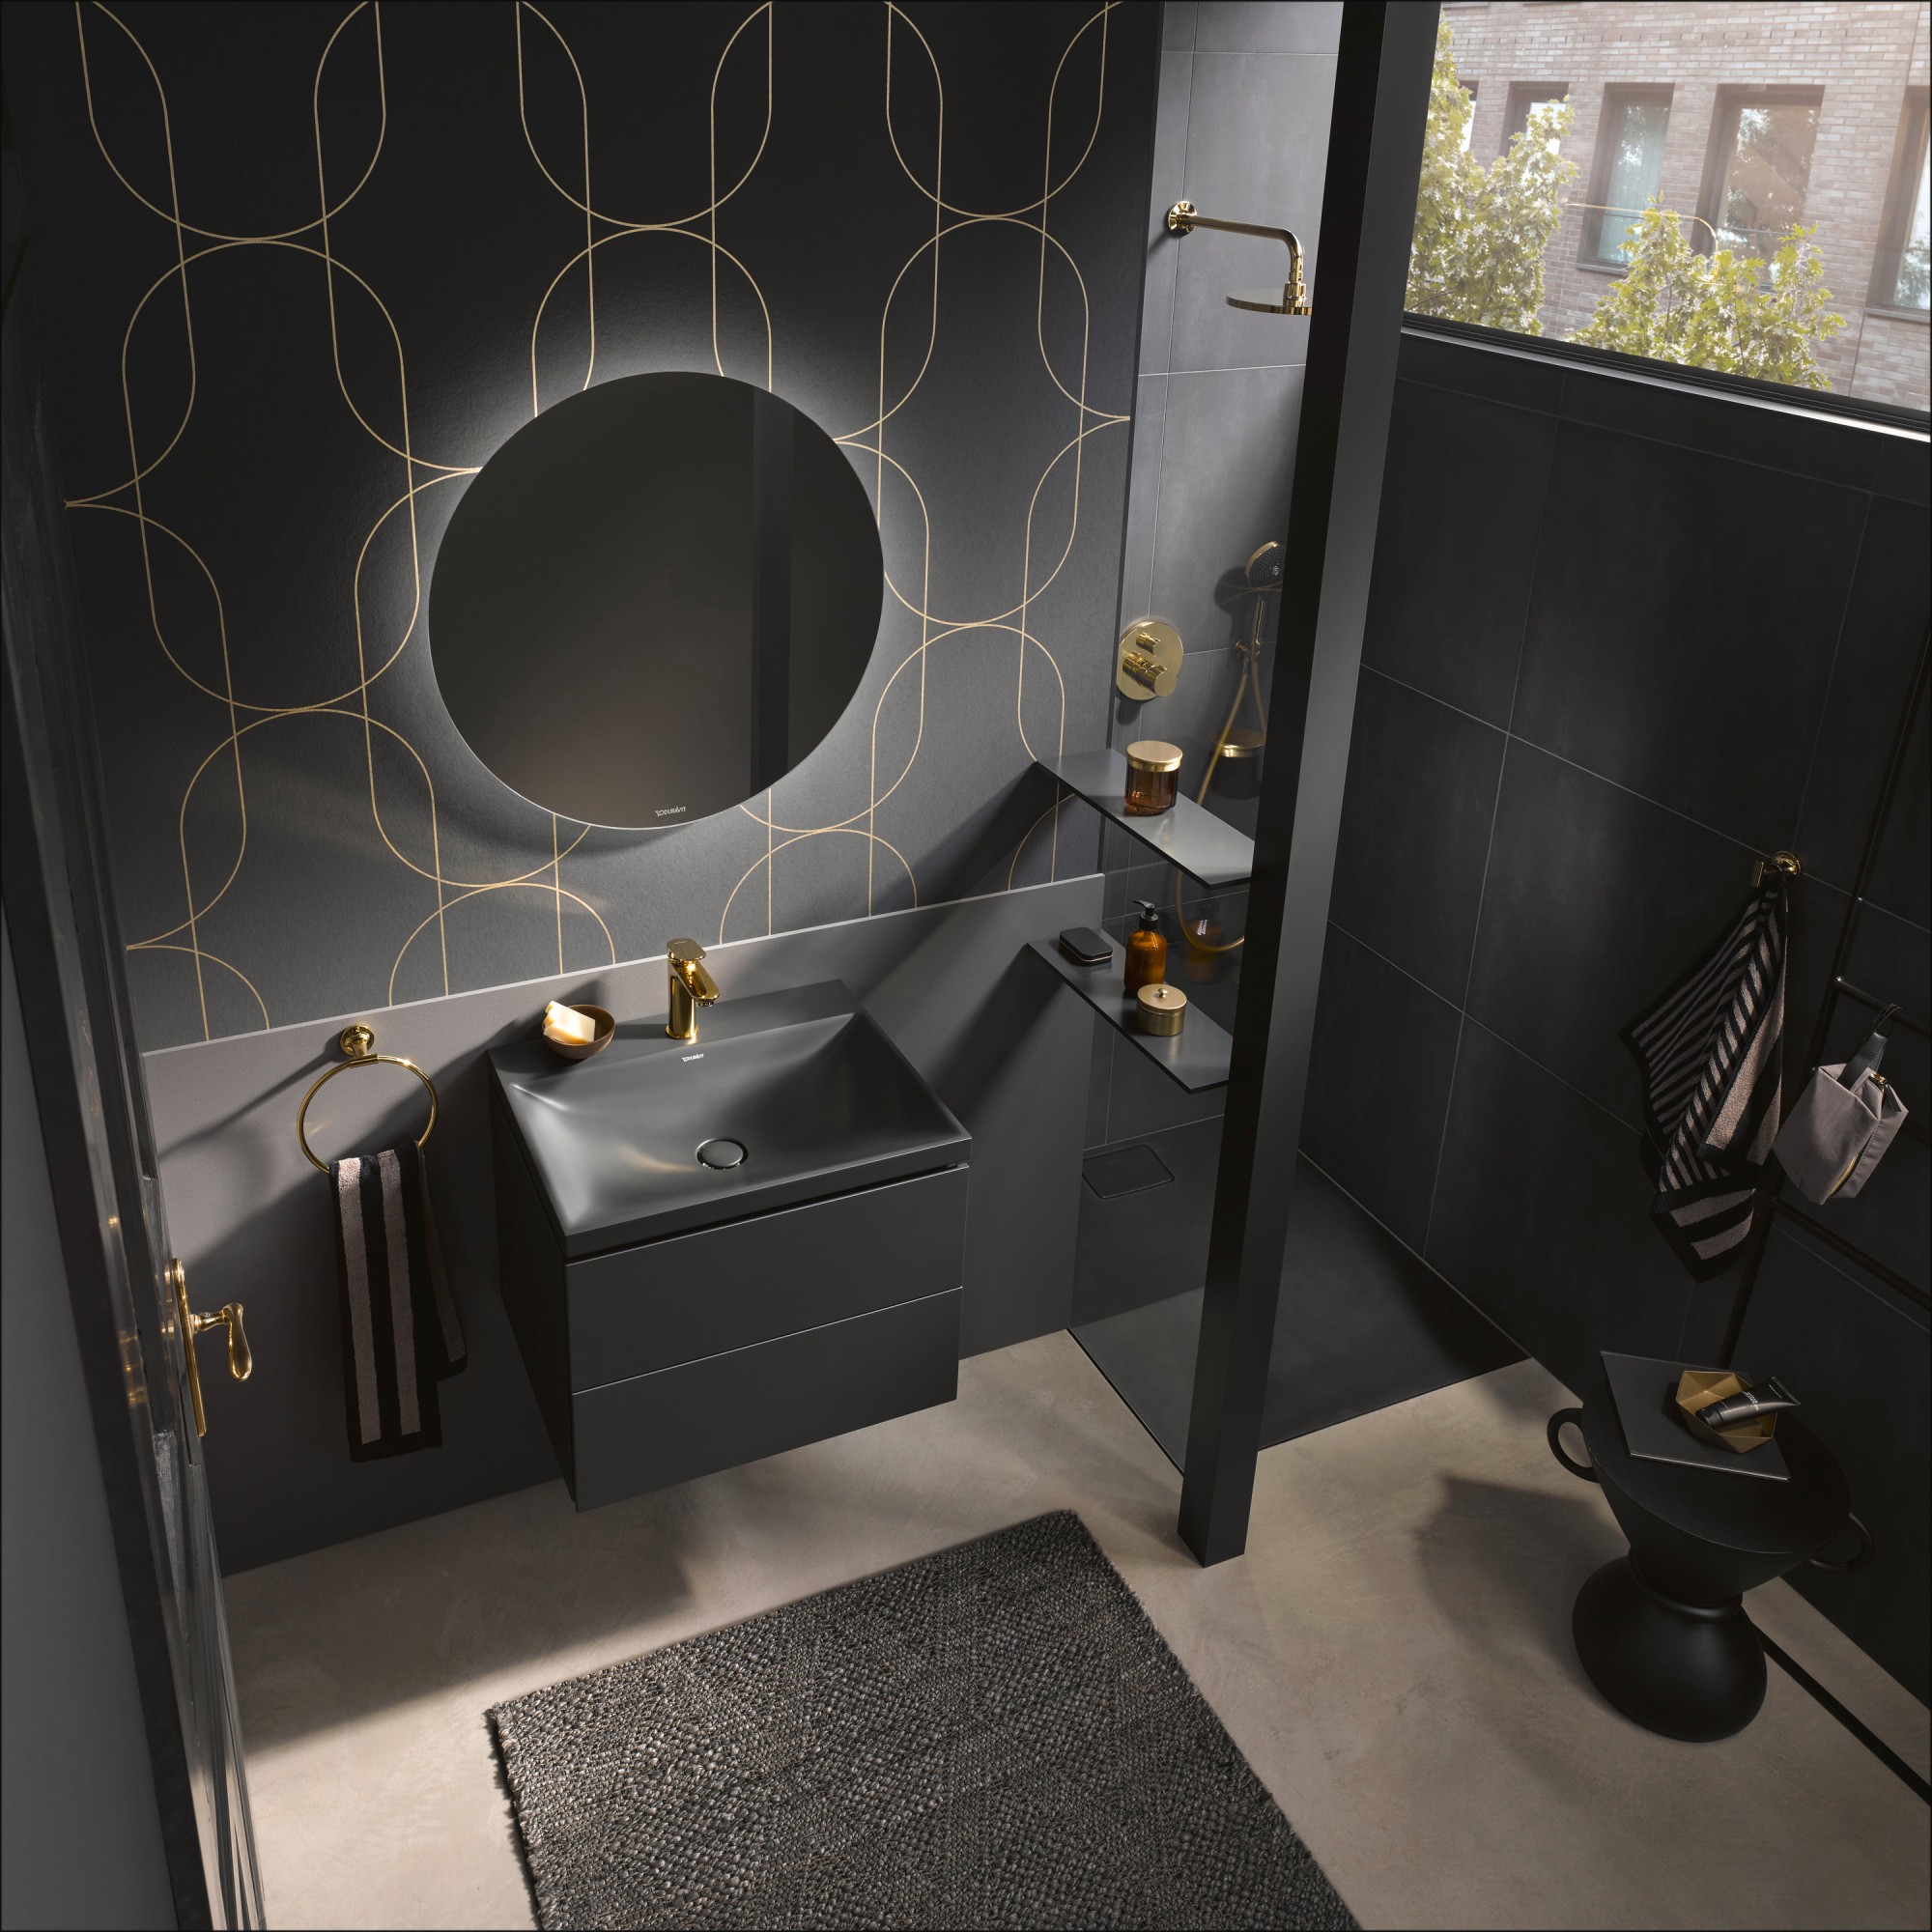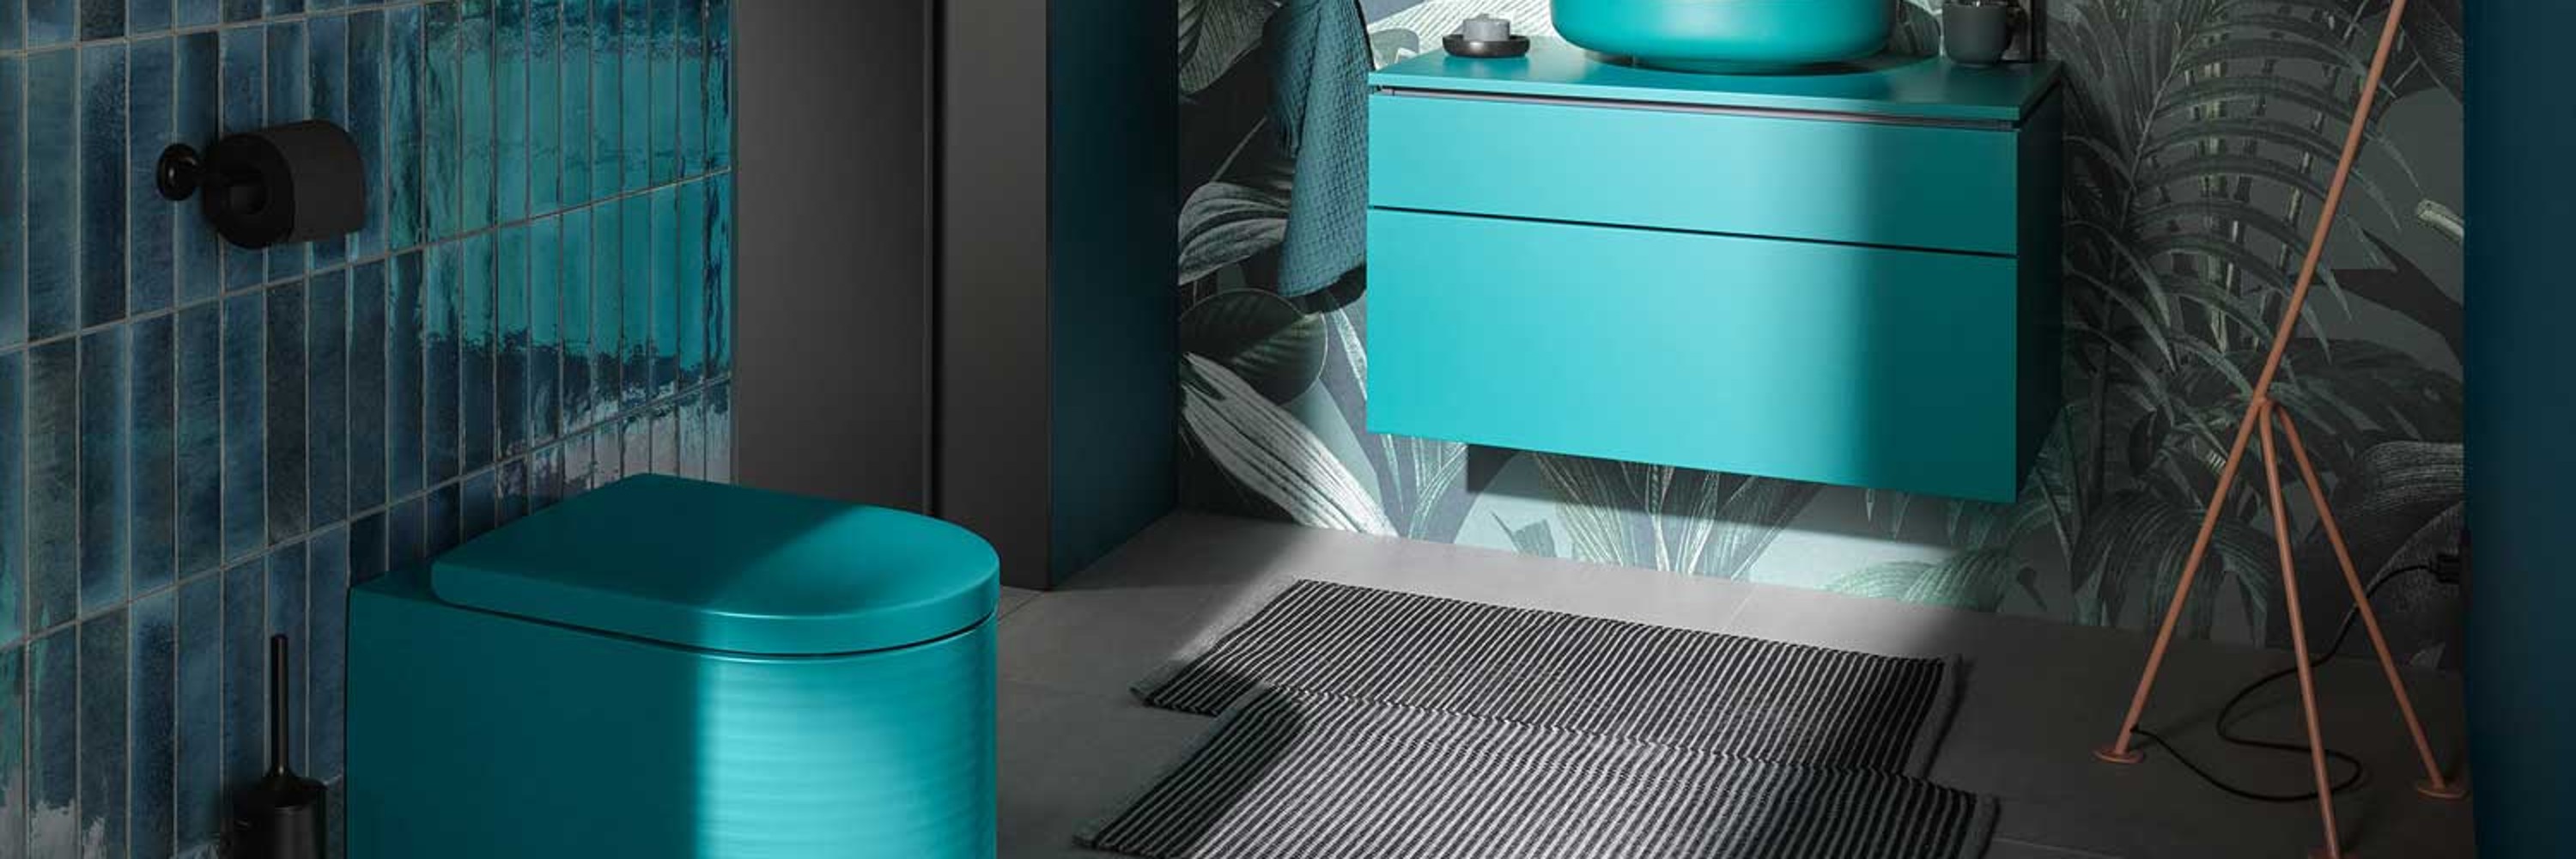
Wallpaper in the bathroom
Key points at a glance:
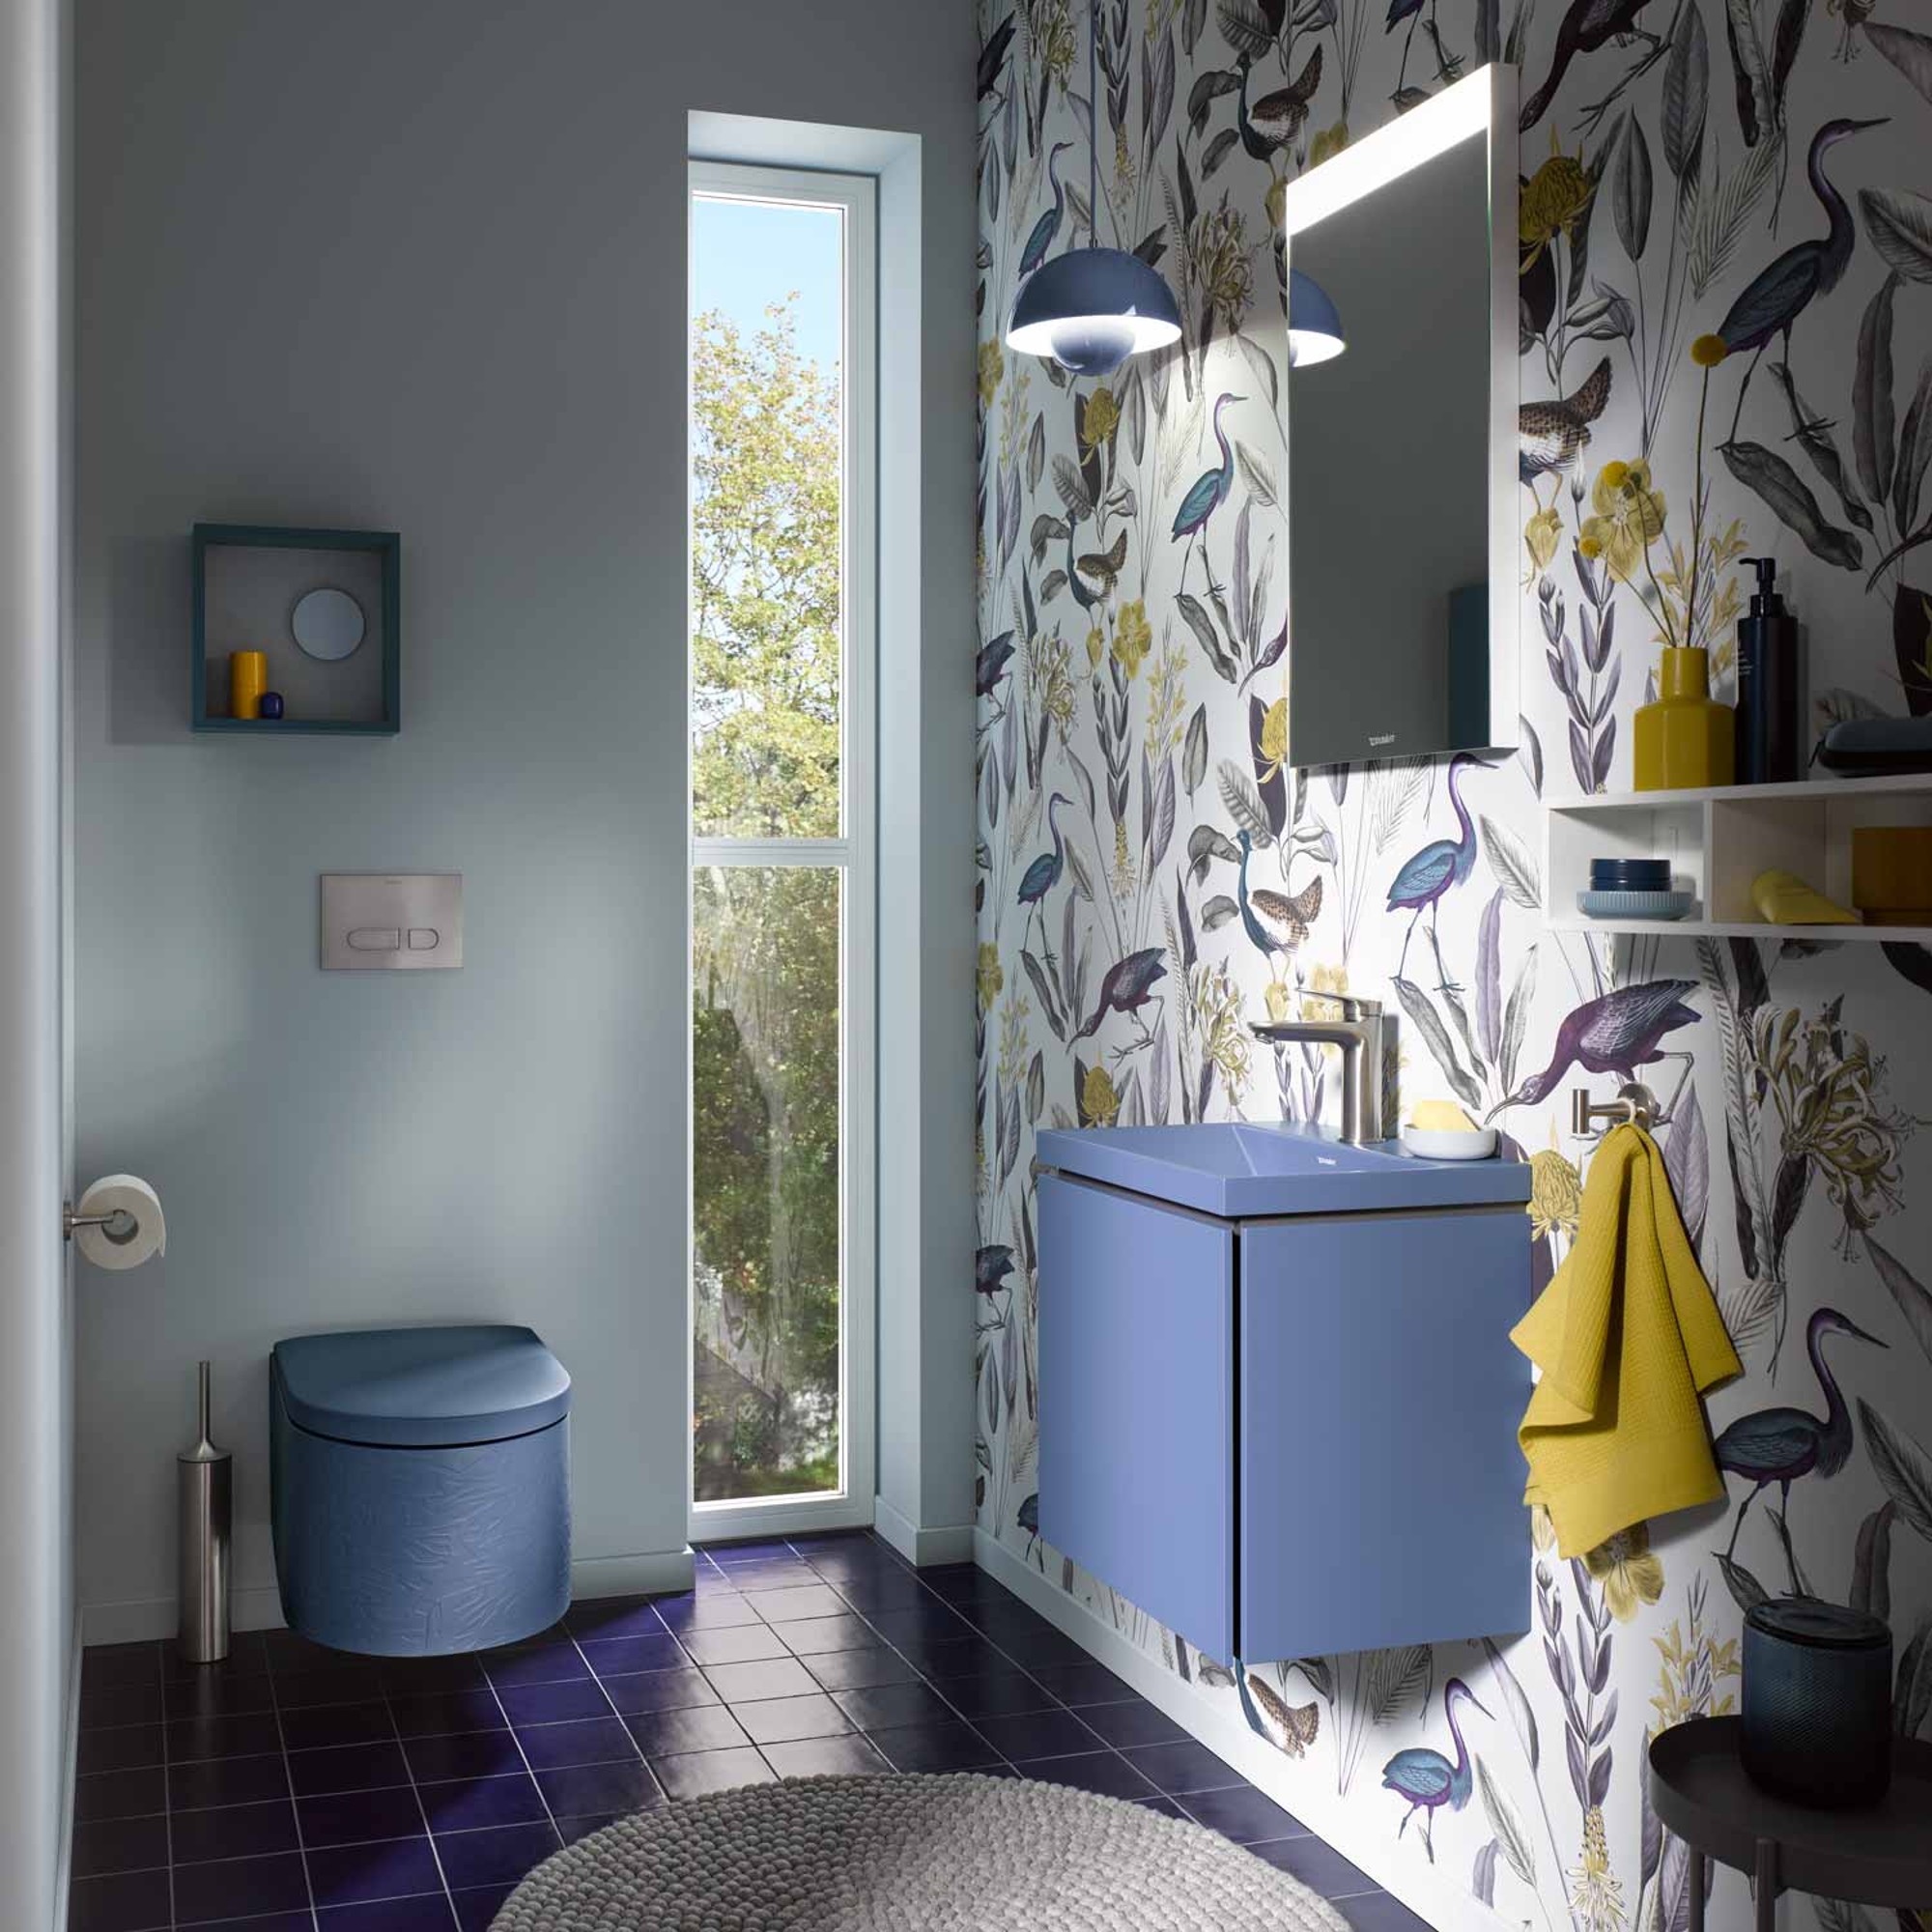
- Water-resistant wallpaper instead of standard wallpaper: Only water-resistant wallpapers—such as vinyl, non-woven, or fiberglass wallpapers—that are designed to withstand high humidity are suitable for the bathroom.
- Apply carefully: A smooth, dry surface, the right moisture-resistant paste, and precise application are essential to ensure that the wallpaper lasts a long time in the bathroom.
- Note the water resistance: Depending on the intended use, the wallpaper should be at least washable; wallpaper should not be used in areas exposed to direct splashing water.
The different types of wallpaper for the bathroom
Regular paper or wood-fiber wallpaper is unsuitable for bathrooms because it swells when it comes into contact with water. That’s why only waterproof wallpaper is suitable for bathrooms. So if you want wallpaper in your bathroom, you should opt for moisture-resistant wallpaper:
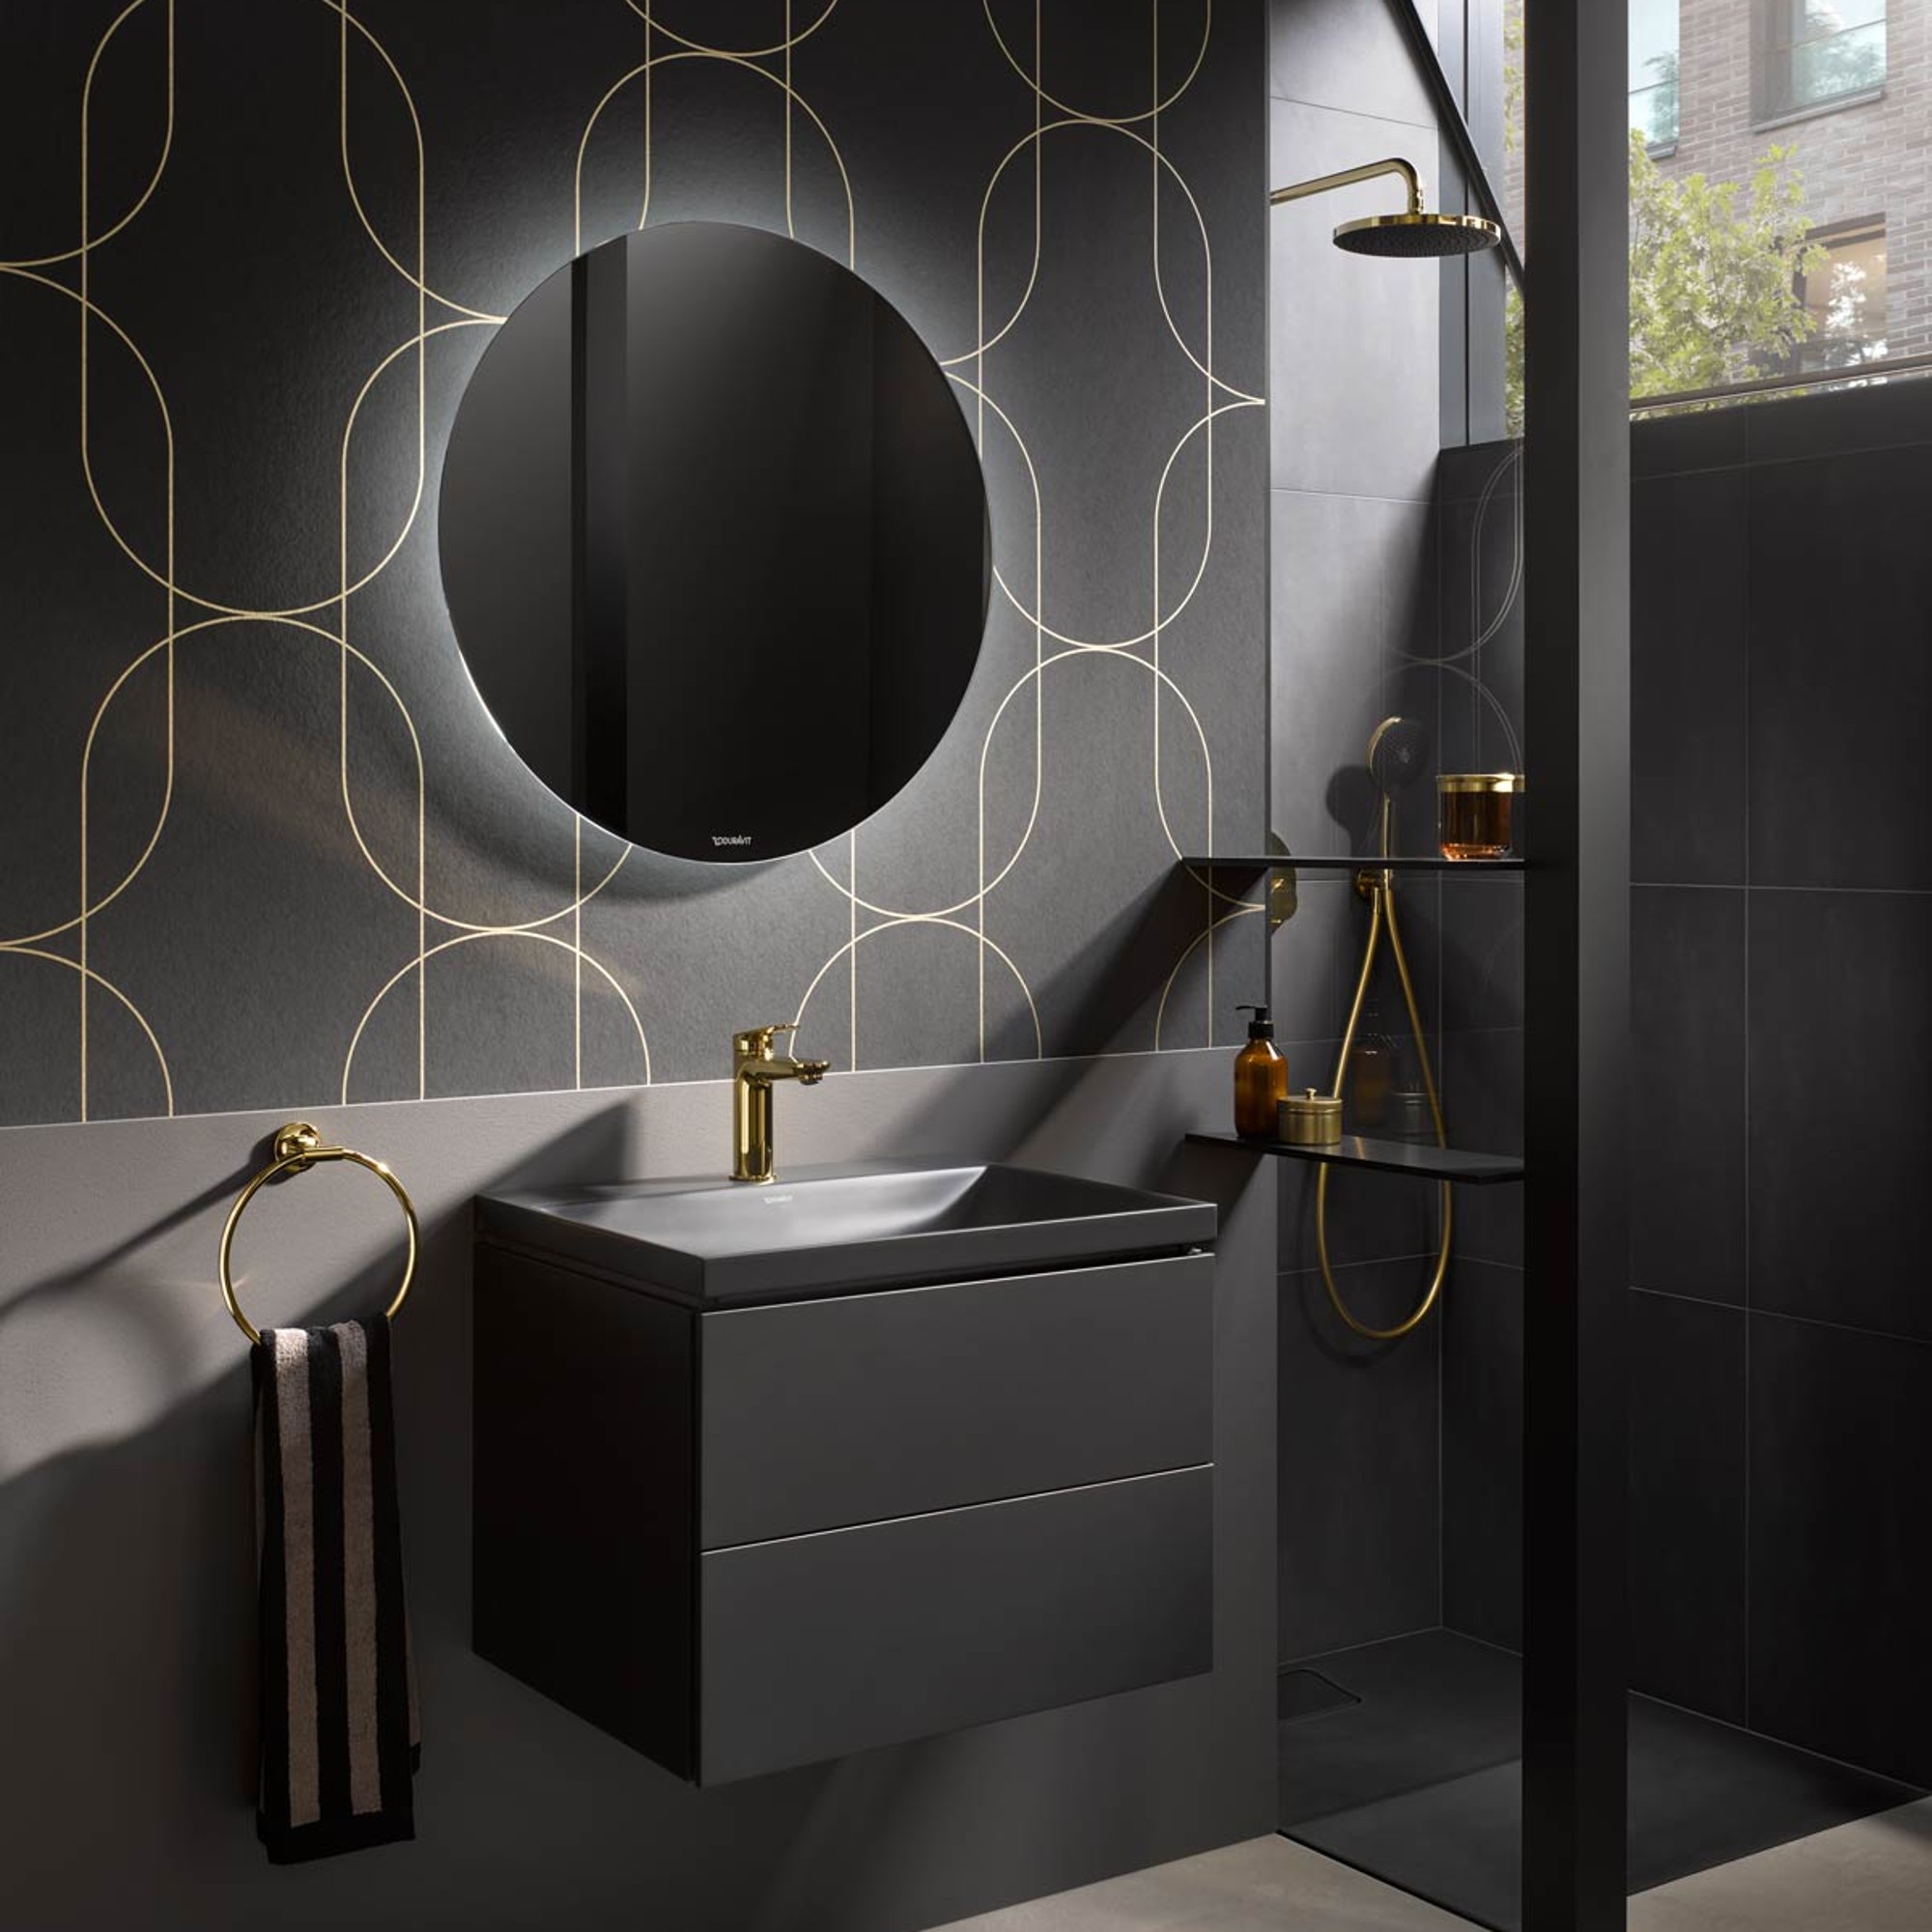
Vinyl wallpaper
The most popular option is vinyl wallpaper. It has a water-repellent PVC layer, can be wiped down with a damp cloth, and is scrub-resistant, so it can usually be cleaned even of heavy stains. One disadvantage of vinyl wallpaper is that it seals the walls, causing moisture to accumulate on the surface. Therefore, with this type of wallpaper, proper heating and ventilation of the bathroom are even more important than usual to prevent mold. Additionally, these bathroom wallpapers contain plasticizers that are not environmentally friendly.

Non-woven wallpaper
Non-woven wallpapers are particularly easy to use and hold their shape, but they are not waterproof. Instead, they absorb moisture and release it again—so they should not be constantly exposed to excessive moisture. Installing this type of wallpaper in the bathroom is extremely straightforward and can therefore be done even by those with no prior experience. What makes non-woven wallpaper for the bathroom special is that it offers an impressive selection of colors, textures, patterns, and more. From trendy photo wallpaper and wood-look designs to stunning 3D effects, there’s something for everyone. By the way, non-woven wallpaper for the bathroom is also perfect for decorating the bathroom ceiling.

Fiberglass wallpaper
Fiberglass wallpaper is extremely durable and long-lasting, and the fiberglass prevents mold growth. This type of bathroom wallpaper is usually painted over with latex paint. It can then be customized in various colors, allowing this type of wallpaper to add a splash of color to the bathroom. Special emulsion adhesive is required for installation. Removing this wallpaper in the bathroom is very difficult due to the special adhesive, so the decision to use fiberglass wallpaper should be carefully considered.
The water resistance of wallpaper in the bathroom
Choosing the right wallpaper for the bathroom isn't just about colors and patterns. The wallpaper's water resistance also plays a crucial role in the decision. The following levels of water resistance are specified in the DIN DE 235 standard:
Water-resistant (until application)
Lowest water resistance; stains can only be removed shortly after application. Wallpaper with this level of water resistance is not suitable for bathrooms.
Washable
Light stains can be removed with a damp sponge.
Highly resistant to washing
Light soiling and small, fresh grease stains can be removed with a sponge and a little soap.
Scratch-resistant
Wallpaper can be cleaned with a sponge or brush; a mild scouring agent and soapy water work well.
Highly scratch-resistant
The most stain-resistant; almost any stain can be removed.
Wallpaper in the bathroom should be at least washable or highly washable to withstand splashes and allow dirt to be removed with a damp cloth. Depending on your needs, scrub-resistant and highly scrub-resistant wallpaper can provide additional protection in the bathroom. It can also be cleaned with a brush and mild detergent.
By the way: While there are waterproof wallpapers designed for showers, it’s safer not to use wallpaper in the shower area. Despite the wallpaper’s water-repellent properties, constant exposure to splashing water can still cause damage.
6 steps for hanging wallpaper in the bathroom
Wallpaper in the bathroom must be hung properly to prevent wrinkles or gaps. In general, it is recommended that you hire a professional. If you have experience hanging wallpaper in the bathroom, you can also do it yourself. When hanging wallpaper in the bathroom, keep the following in mind:
Step 1
Preparing the room
Before wallpapering, you should always prepare the room first. To do this, remove the fuses in the bathroom, lay down drop cloths on the floor, and remove the covers from outlets and light switches (only after removing the fuses). The baseboards can either be unscrewed or covered with masking tape to protect them from the wallpaper paste. The room should also be dry, so it’s best to air it out thoroughly beforehand.

Step 2
Preparing the walls
Before hanging wallpaper in the bathroom, make sure the walls are actually smooth. Otherwise, your bathroom wallpaper will end up with ripples. Fill any holes or cracks with a putty knife and spackling paste, then sand the area smooth once it’s dry. Afterward, remove any residue—such as dust or dirt—from the walls. Shining a bright light from the side, for example with a large flashlight, can help you spot and remove dirt and unevenness.

Step 3
Measuring the distances
No matter which wallpaper you choose for your bathroom, you should first measure the exact dimensions of the wall or walls you want to cover. Then figure out how many rolls of wallpaper you’ll need and how to arrange them. To help you, you can use a level and a pencil to draw guide lines on the wall.

Step 4
Choosing the right paste and wallpaper
To hang wallpaper in the bathroom, you will definitely need a special moisture-resistant adhesive. This adhesive provides better adhesion in damp environments, ensuring that the wallpaper doesn’t peel off right away. You should also choose the type of wallpaper that best suits your needs from the available moisture-resistant options: vinyl, non-woven, or fiberglass.

Step 5
Proper wallpapering
Mix the paste according to the manufacturer’s instructions. Depending on the type of wallpaper, apply the paste either to the wallpaper or to the bathroom wall. Then carefully hang the wallpaper in the bathroom, making sure it is straight—ideally along guide lines drawn beforehand. The first strip must be positioned perfectly, as all subsequent strips will be aligned with it. Use a wallpaper roller to remove air bubbles. Cut out holes for electrical outlets with a utility knife. Important: The wallpaper in the bathroom must not overlap at the end but must meet cleanly to prevent moisture damage.

Step 6
Inspecting and drying the wallpaper
Once all strips of the moisture-resistant wallpaper have been hung, check the finished wall in the bathroom again for air bubbles and unevenness. If there are no further touch-ups needed, the bathroom should be allowed to dry at a constant room temperature of over 20 °C. A drying time of one full day is recommended.

By the way: If you want to hang wallpaper over tiles in the bathroom, you’ll need to fill the grout lines and treat the wall with a special primer designed for smooth, non-absorbent surfaces.
Another way to add different colors and patterns is to paint the bathroom.