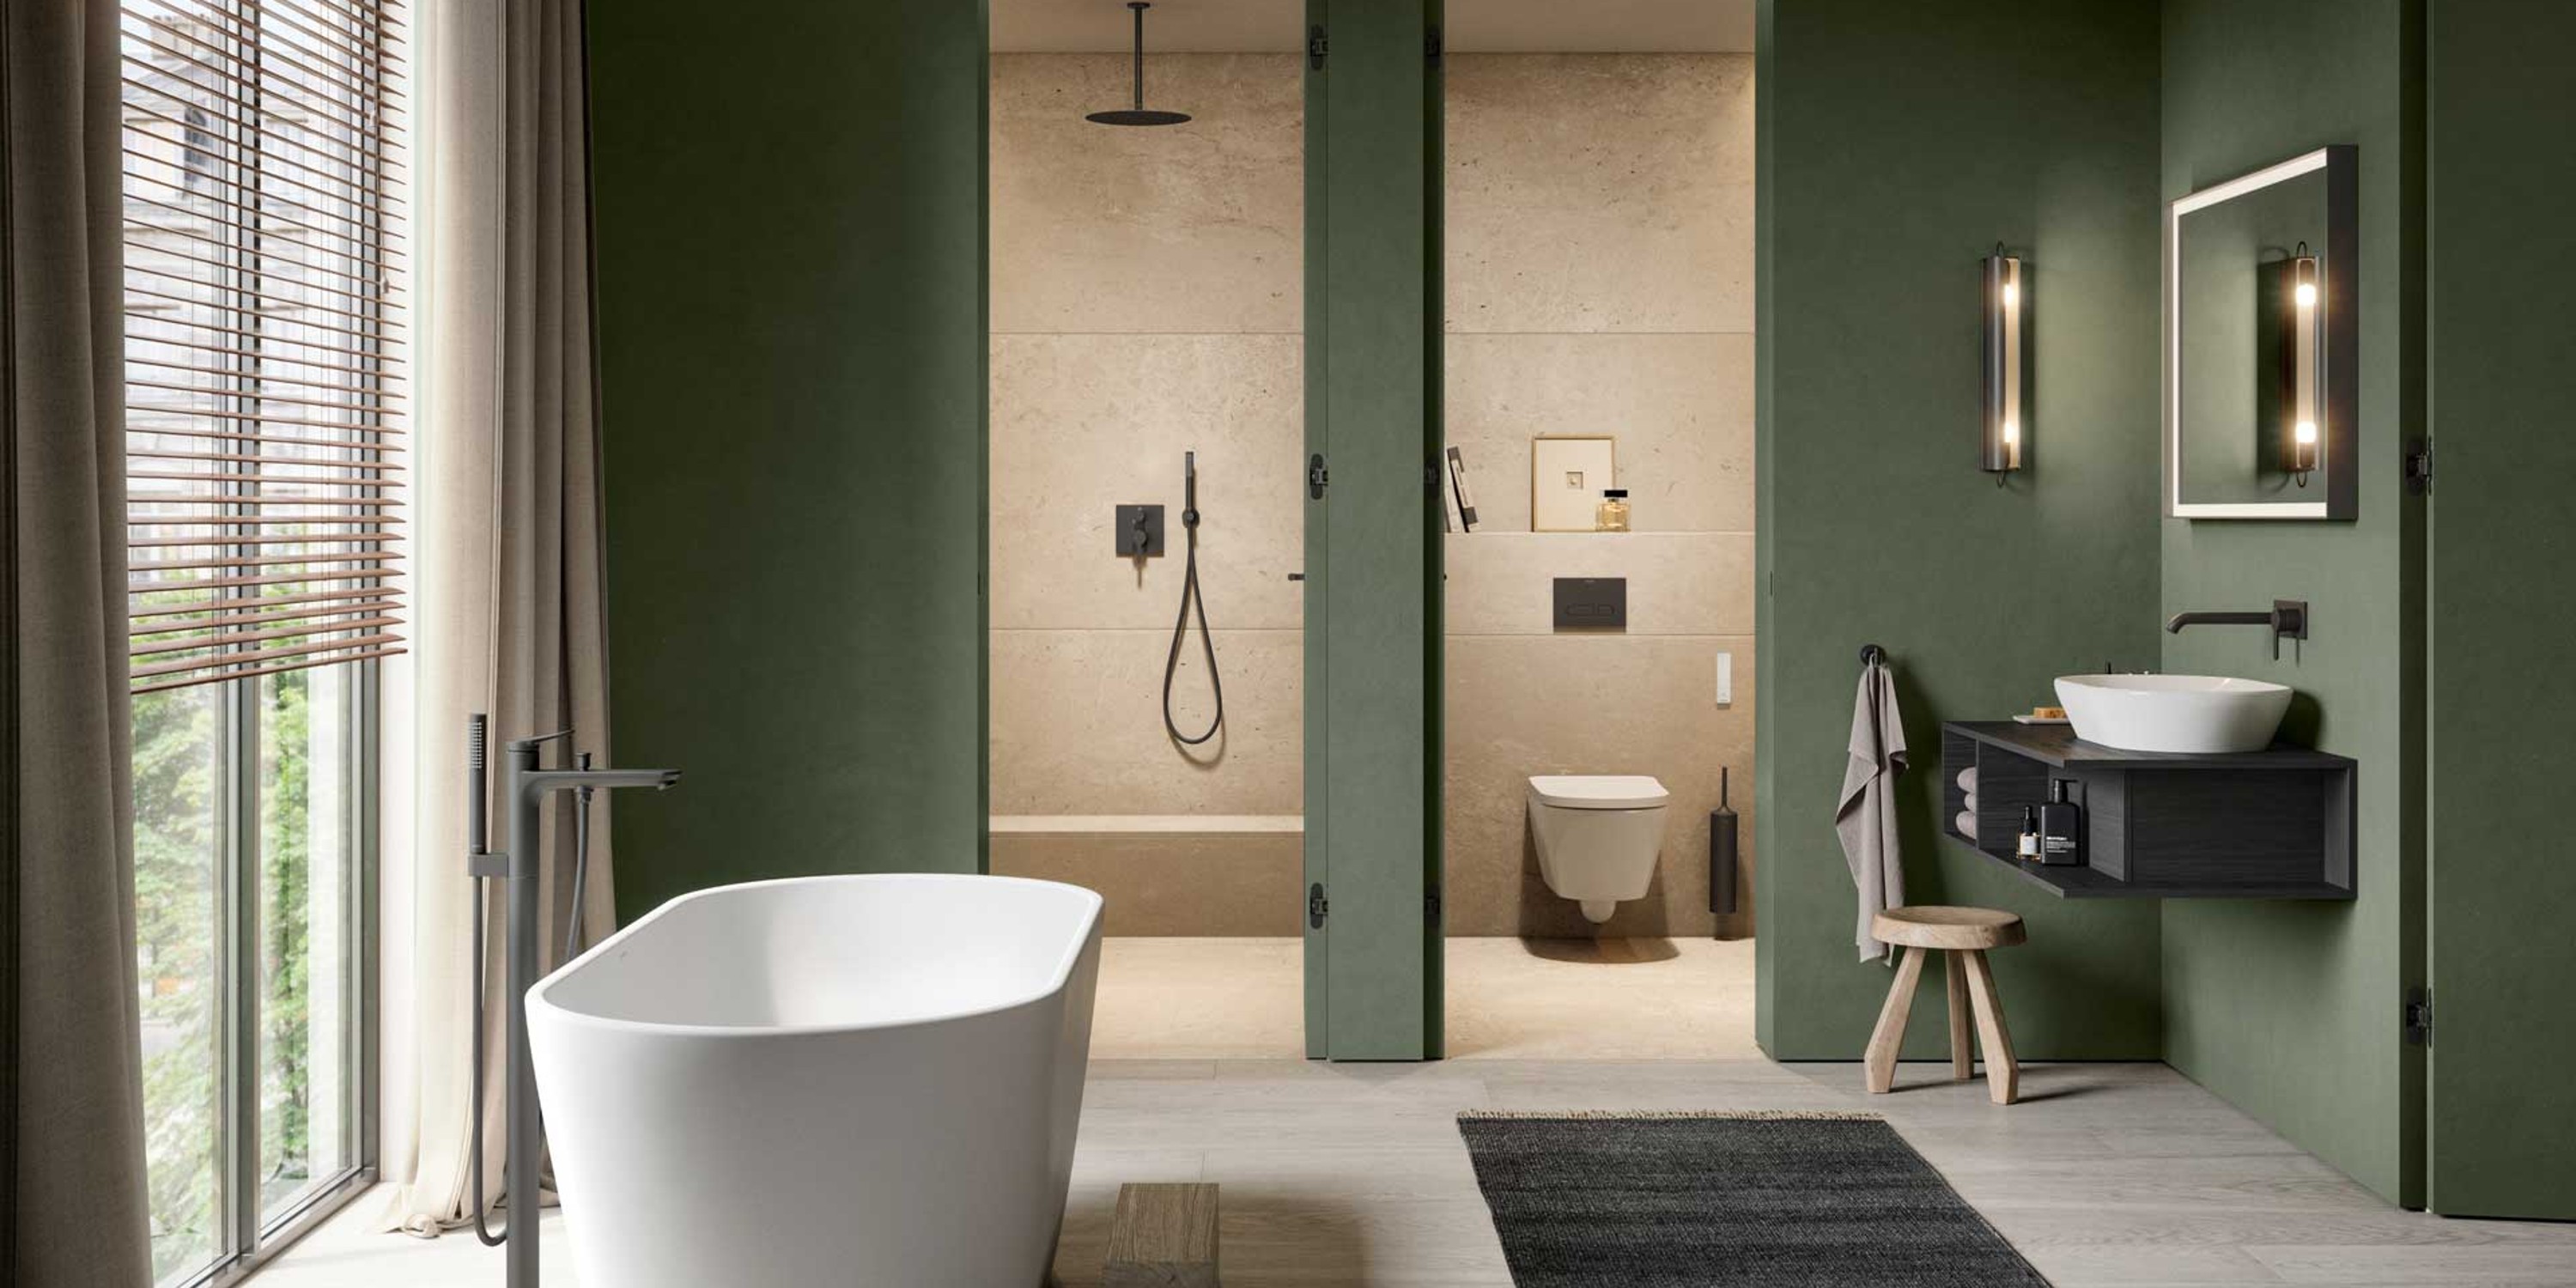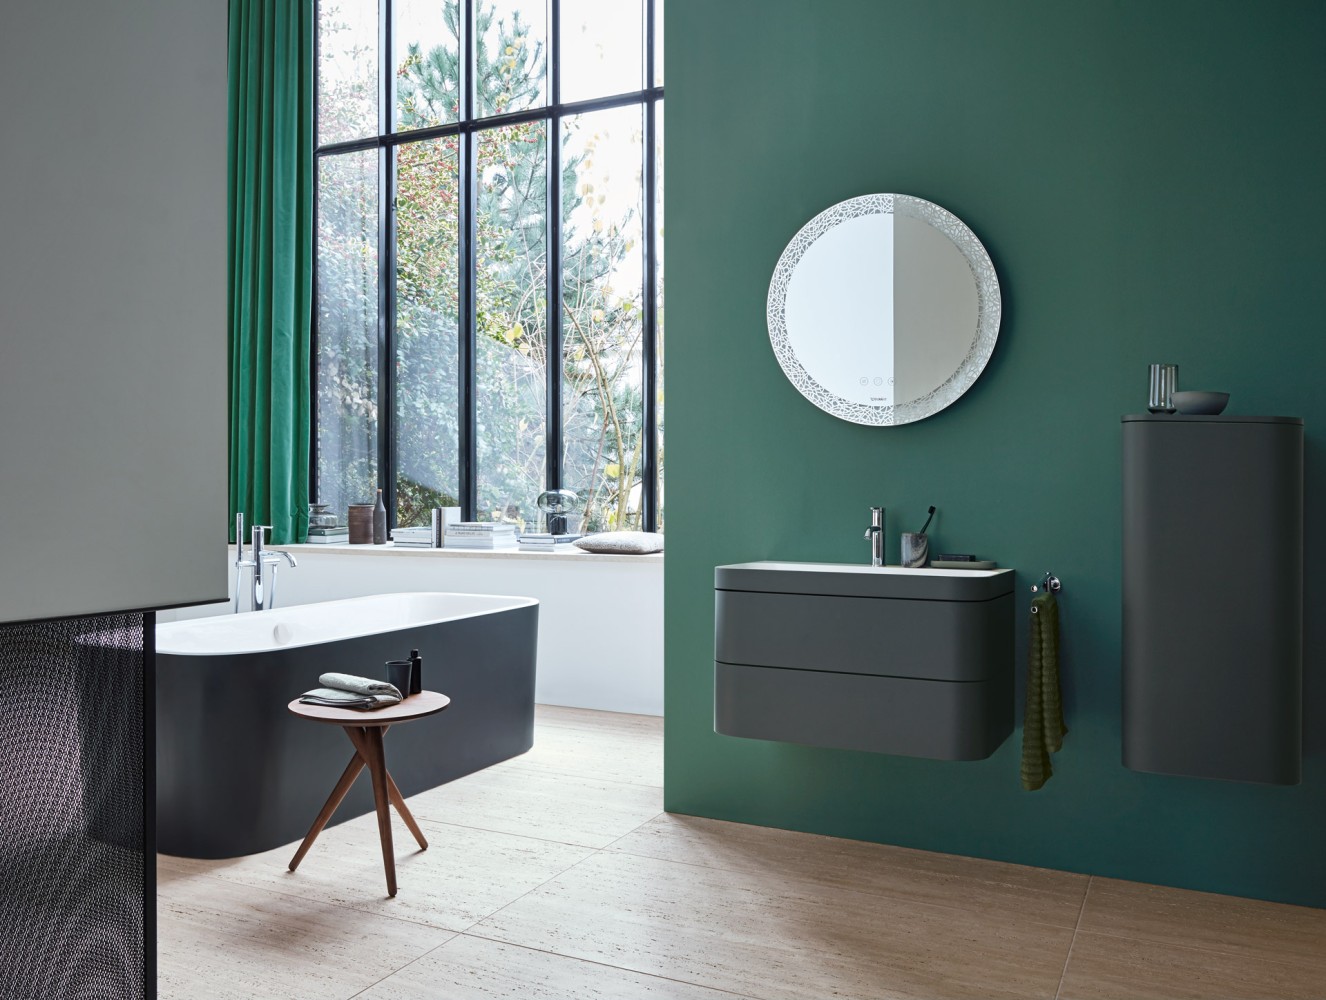
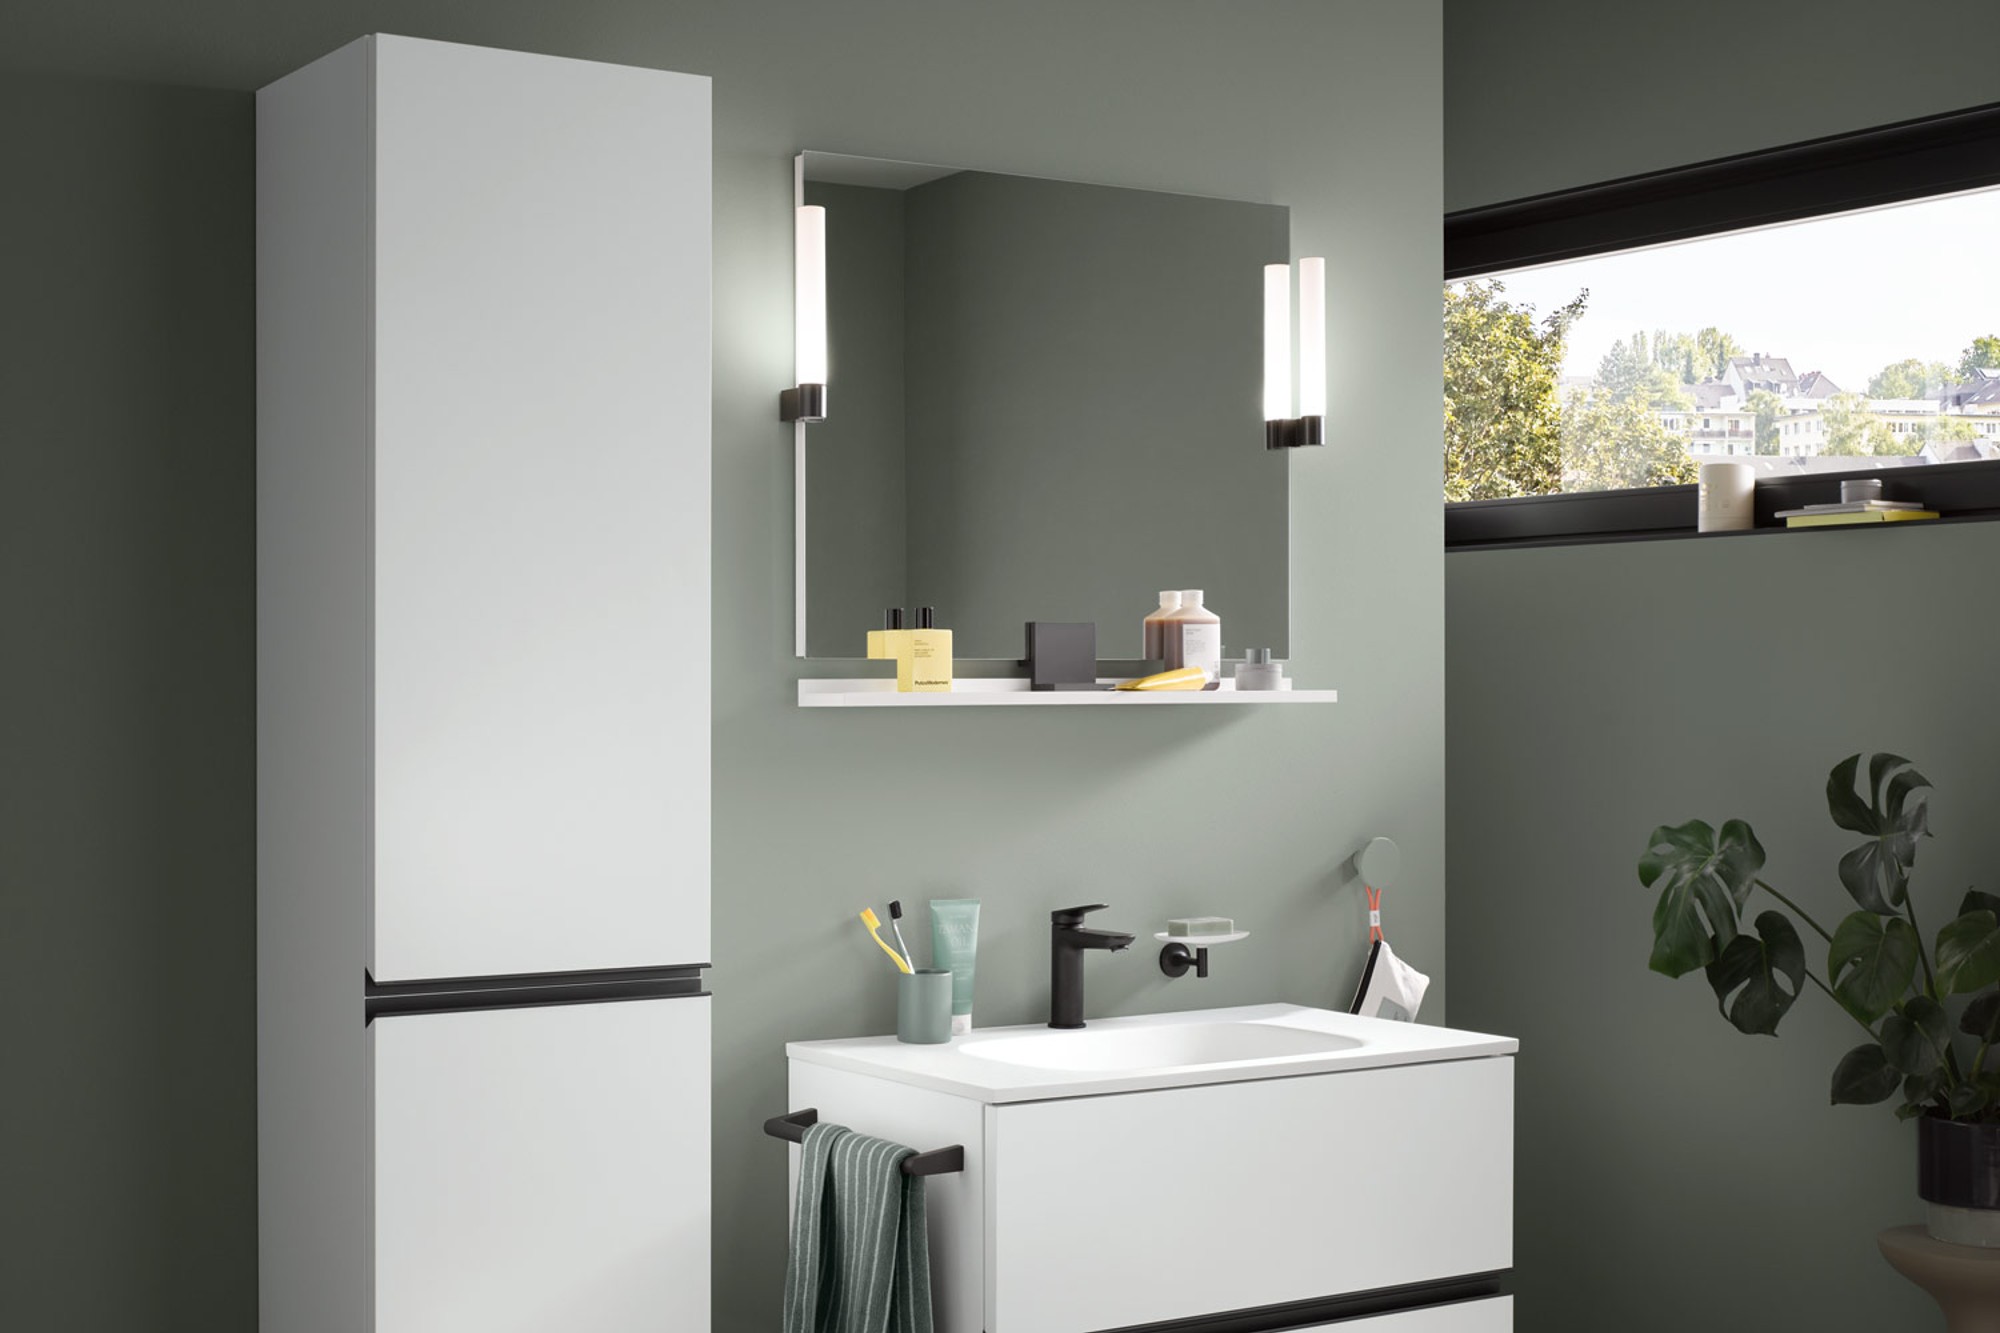
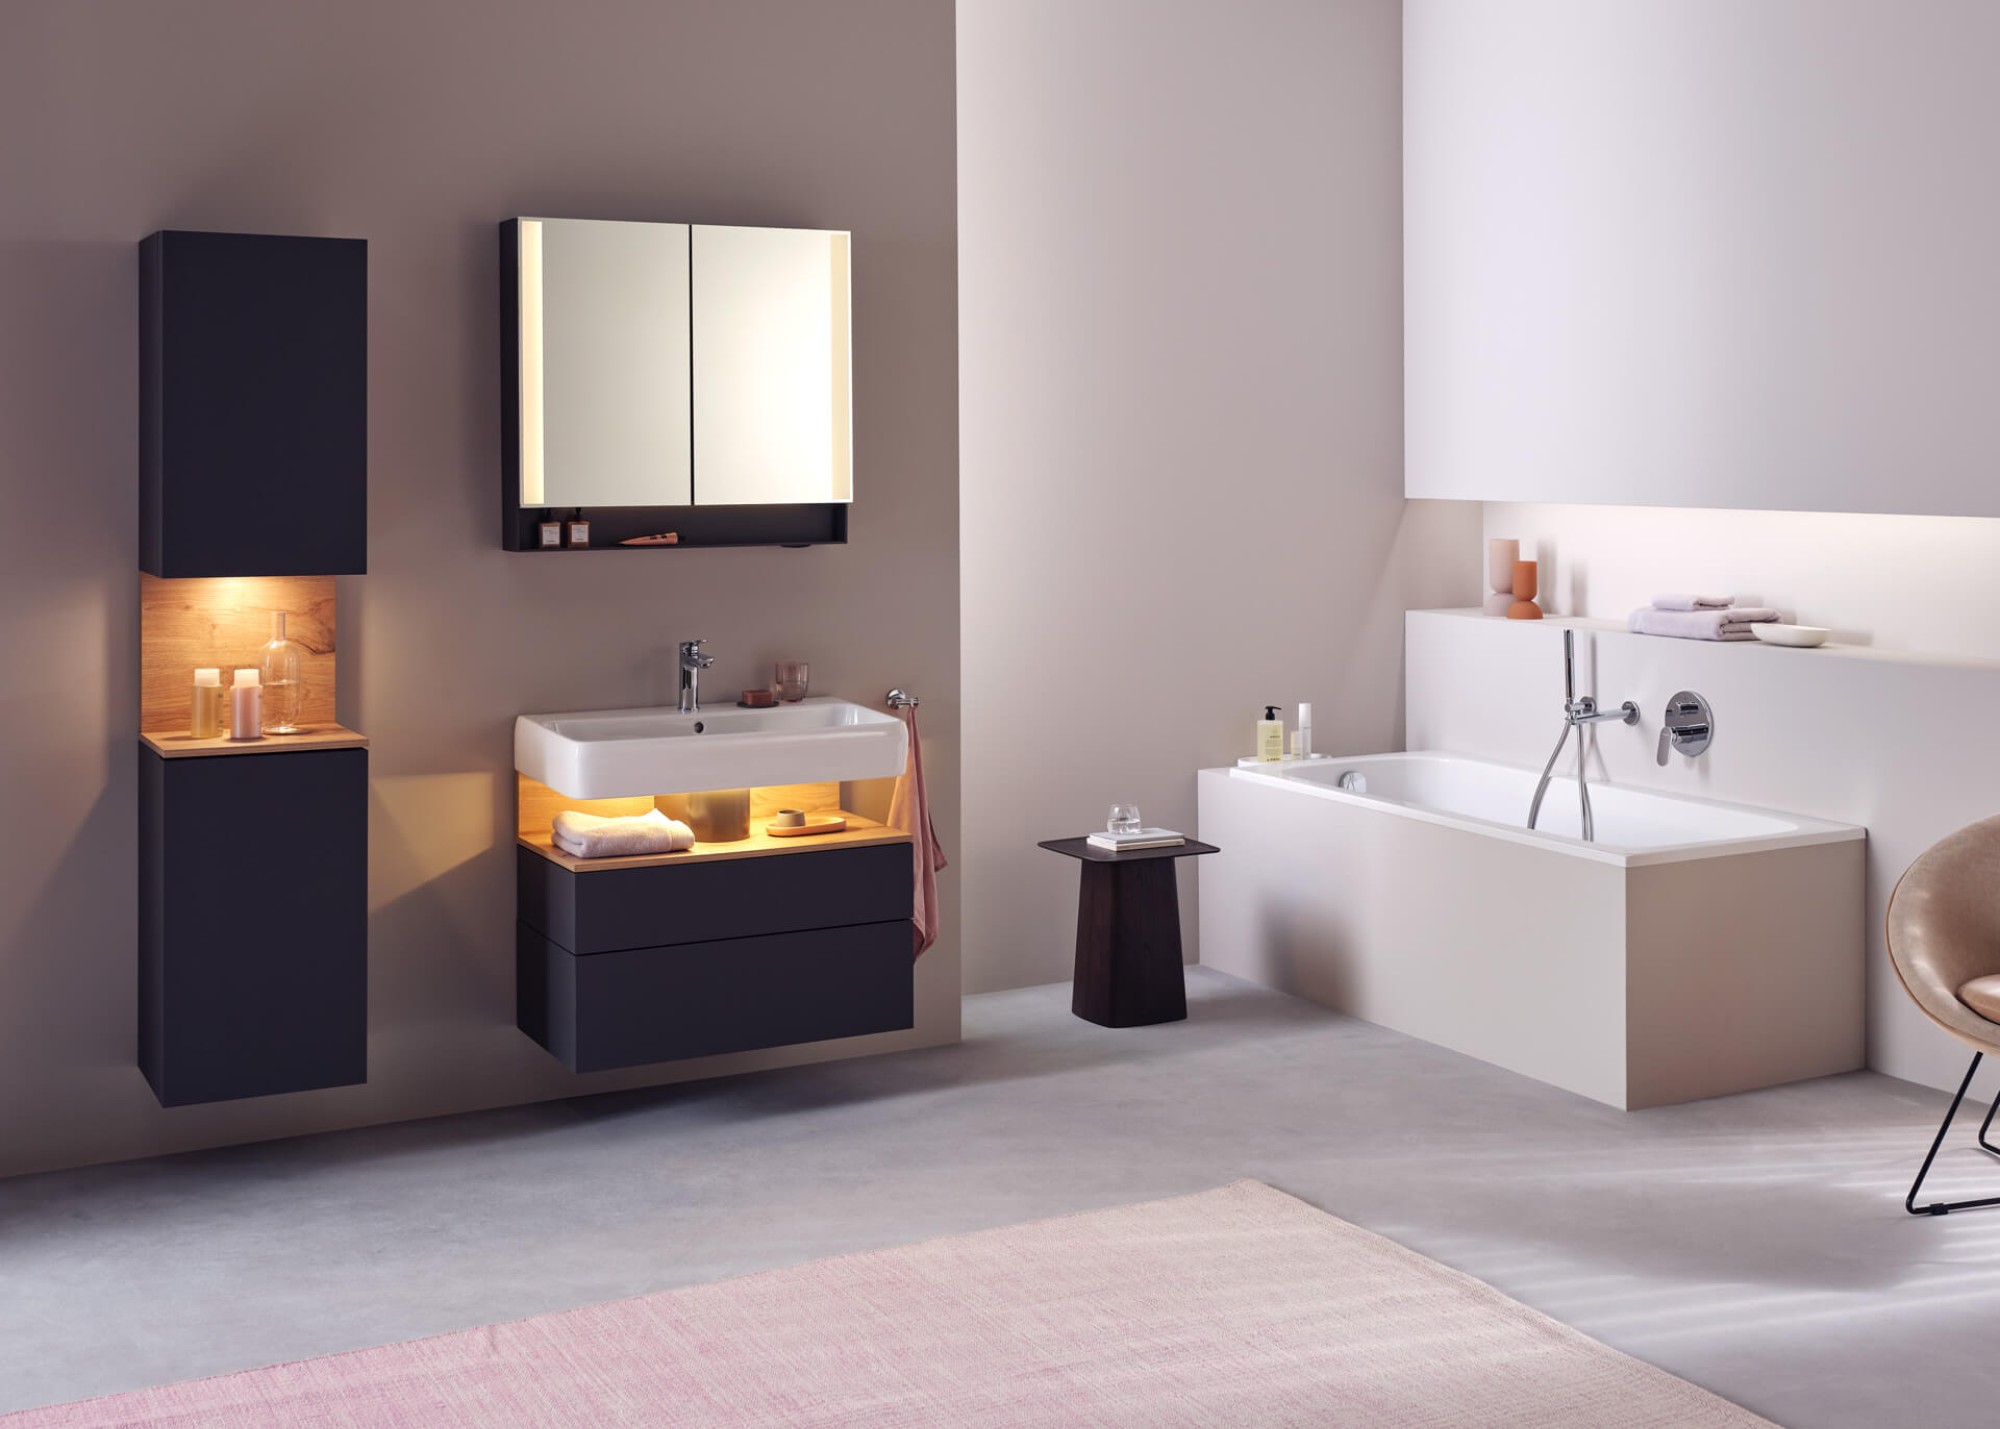
Painting the bathroom
How to get a great new coat of paint
Key points at a glance:
- Choosing the right paint: Special moisture-resistant paints, silicate paints, or lime paints provide reliable protection against moisture and mold—conventional wall paints are not suitable.
- Prepare carefully: Clean, dry, and primed surfaces, as well as covering ceramic tiles and faucets, are essential for a clean finish.
- Paint systematically: Work in the correct order (ceiling, trim, walls) and apply the paint evenly in several coats to achieve a durable and uniform finish.

Painting a bathroom: What paint should you use?
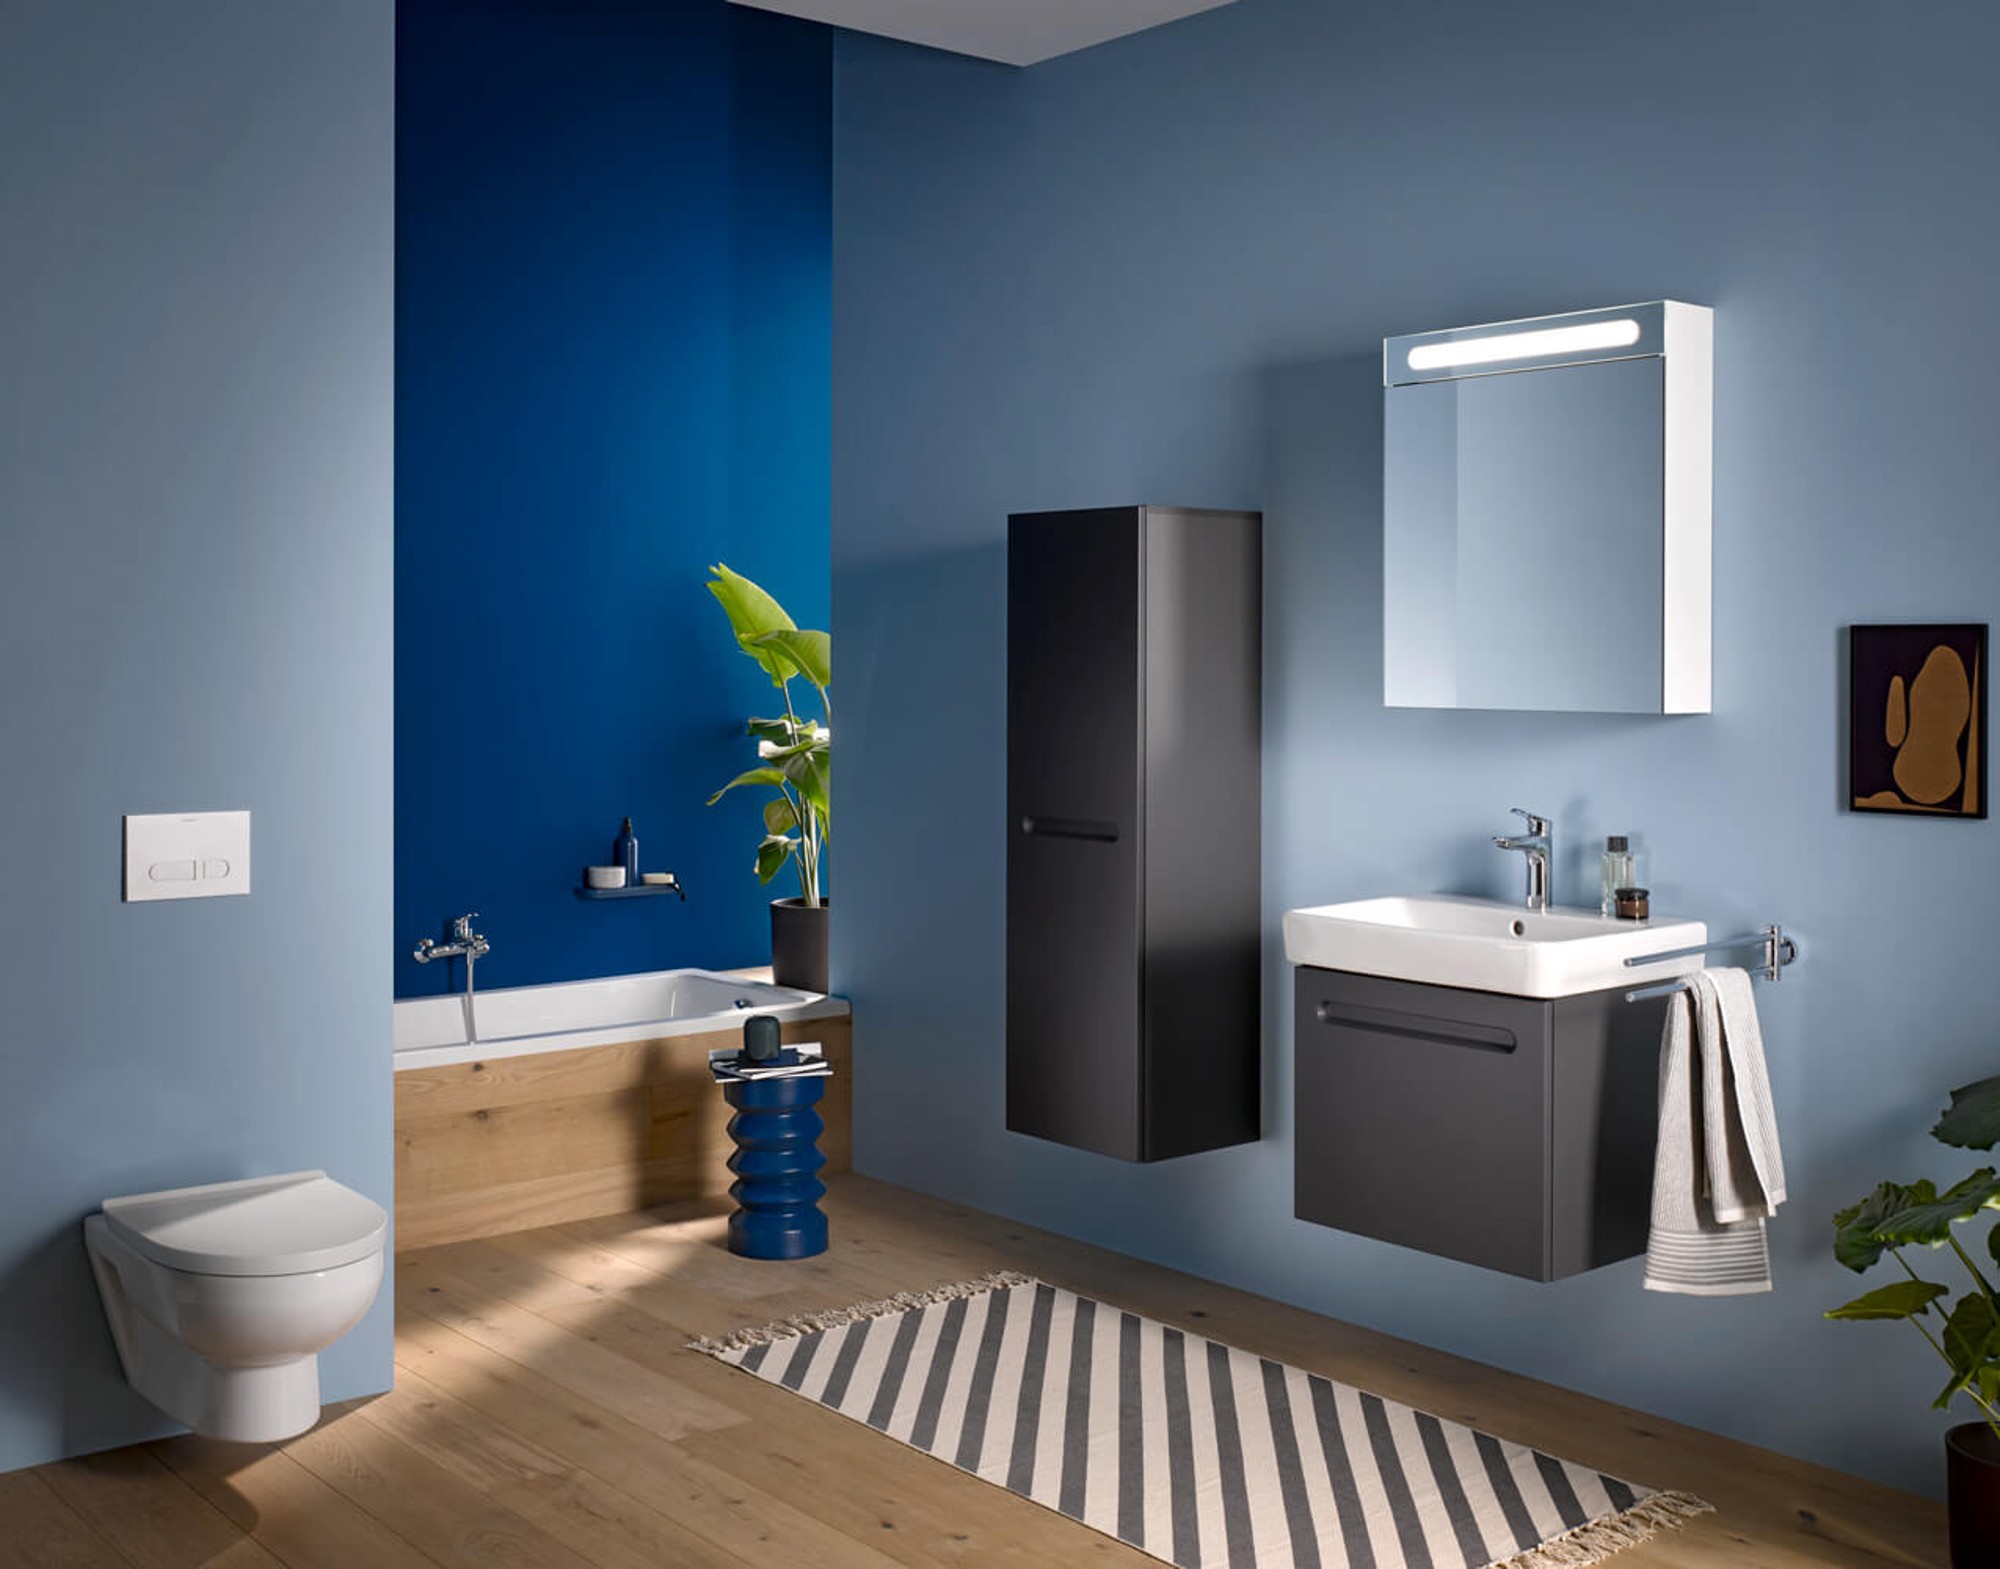
Standard emulsion paints—that is, wall paints for rooms like the living room—are not suitable for painting bathrooms. This is because the high humidity in the bathroom subjects the paint to special demands. Among other things, you’ll want to avoid mold growth and peeling paint. The following options are available to you:
Silicate paint
Silicate paint is particularly useful for bathrooms because it has a high pH level—mold really doesn’t like that. However, painting with it is a labor-intensive process, as the high pH level makes the paint corrosive in its liquid form. Consequently, it is only available at select specialty stores, and protective clothing is required when painting.
Moisture-resistant paint
Many home improvement stores and specialty shops offer their own line of moisture-resistant paints, which may be formulated differently. For example, some paints contain fungicides and biocides that naturally prevent mold growth. These paints are often the easiest option for painting a bathroom. However, if you have allergies, you should check the exact ingredients of the paint.
Lime paint
Natural lime paint, on the other hand, is more allergy-friendly. In the bathroom, just as with silicate paint, its high pH level is the key advantage. However, it does not adhere particularly well to many surfaces and is also not scrub-resistant. As a rule, several coats are required.
Latex paint
The fact that it’s easy to clean and durable are good reasons to use latex paint in the bathroom. However, it isn’t 100% waterproof, which means it isn’t completely resistant to mold and requires good, regular ventilation. Additionally, from an aesthetic standpoint, it’s important to note the slight sheen that even the so-called matte versions of this paint often have.
Painting a bathroom: proper preparation
Even once you’ve found the right color, you shouldn’t start painting the bathroom right away. Depending on the condition of the walls, certain preparations need to be made first.
Clear out the area and cover the ceramics
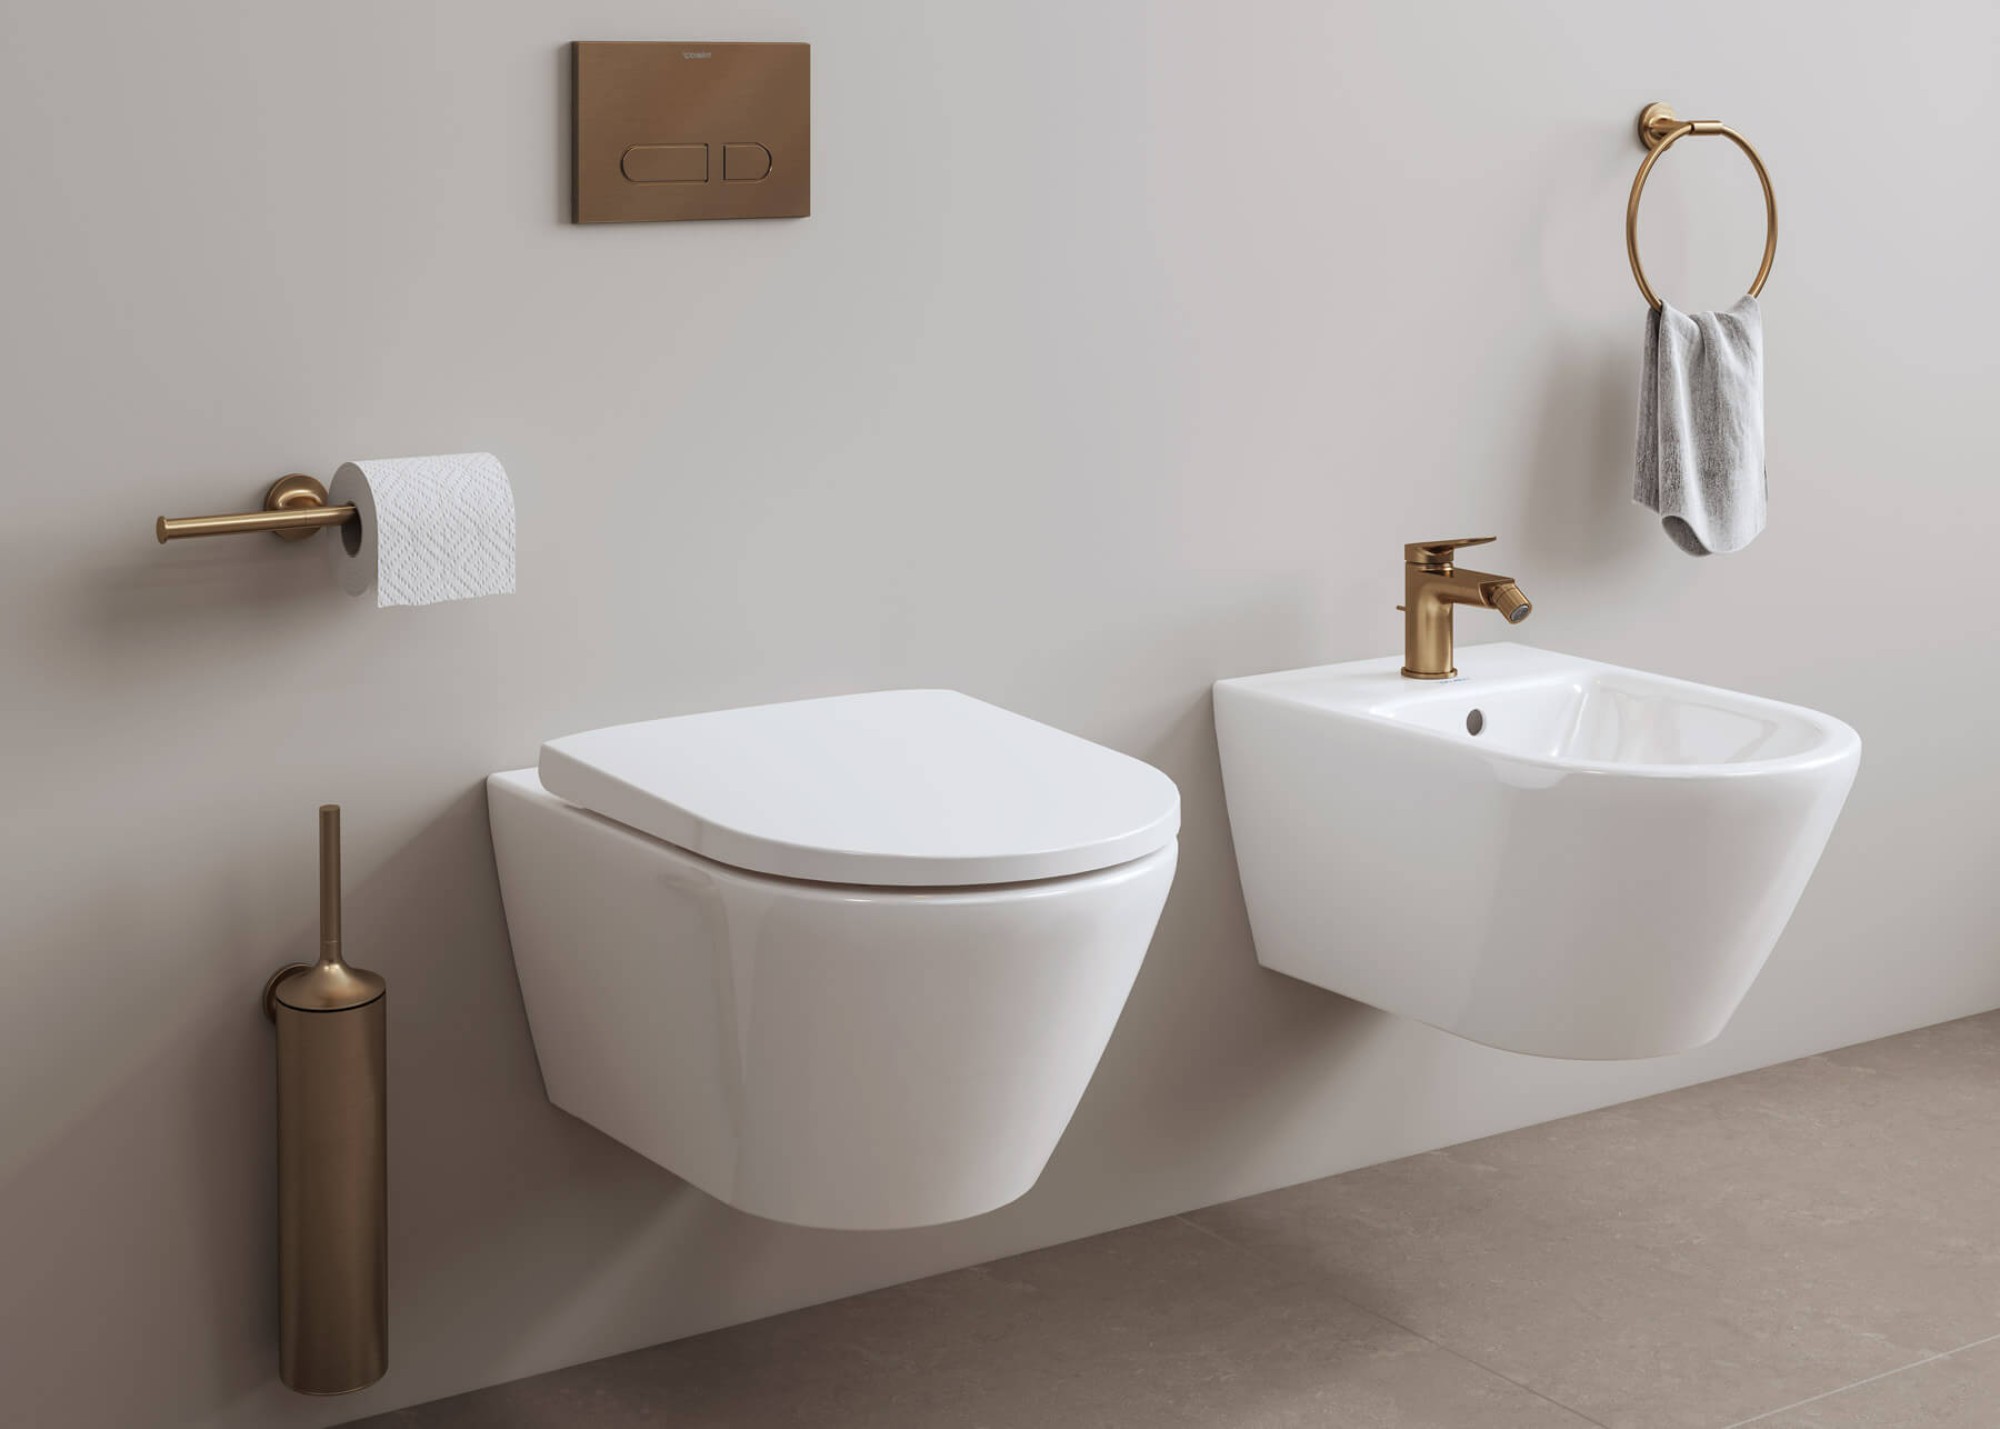
Anything in the bathroom that isn’t permanently fixed should be removed from the room first. Before painting the bathroom, it’s also a good idea to unscrew the faucets and electrical outlets, provided this isn’t too difficult to do. Everything that remains in the bathroom, such as the sink, toilet, and bathtub, should be thoroughly covered, for example with painter’s drop cloths. Door handles, baseboards, and, of course, floor and wall tiles should also be covered.
Clean the walls (and ceiling)
To ensure a clean painting job in the bathroom, the surfaces to be painted must be cleaned. Any paint or glue residue should be removed, as well as any mold that may be present. Any uneven areas on the wall can now be filled with spackle. Afterward, the wall should be cleaned of dust or sand as needed. Additionally, the surface should be clean and free of grease. If necessary, the walls must first be wiped down with a damp cloth and then dried before painting the bathroom.
Primer
Before you actually paint the bathroom, it’s a good idea to apply a primer. This helps the paint adhere to the wall as intended and also prevents mold growth. The primer must then dry before you can apply the paint to the bathroom.
Painting a bathroom: How should you go about it?
When actually painting the bathroom, it’s best to follow a specific order. Here’s the recommended sequence:
1. Paint the bathroom ceiling (if desired)
If you want to paint the ceiling in the bathroom, you should start with that first. Just as with the walls later on, two coats are generally recommended to ensure the paint looks evenly applied in the end. In the first step, the paint is often thinned; in the second, this isn’t always necessary—follow the manufacturer’s instructions on the paint can itself. After the first coat, the paint usually needs to dry for a few hours before you can apply the second coat. The coats should then be applied consecutively without a break to ensure an even finish. It’s best to always start with the edges and then move on to painting the inner part of the bathroom ceiling.
2. Paint the baseboard
A wainscot is a narrow strip below the ceiling—in a room with standard ceiling height, a width of about 3 cm usually works very well. If you choose different colors for the ceiling and walls when painting the bathroom, you should paint the wainscot the same color as the ceiling. This creates a more open visual effect and makes the room appear larger; it also helps to visually correct any uneven ceilings. Once the frieze has been painted, it can be masked off with painter’s tape. This eliminates the need to laboriously paint into the corners with the wall color and ensures a clean edge between the ceiling and the wall.
3. Painting bathroom walls
Next, it’s time to paint the bathroom walls. Here, too, start with the corners and edges—preferably using a brush. You can then tackle larger areas with wider rollers so that everything dries at the same time. Work should proceed from the window side into the room, one wall section at a time. As with the ceiling, two coats are usually necessary. Here, too, paint each section completely in a single pass.
4. Let it dry
Once the bathroom has been painted, you can remove the drop cloths and other protective coverings after a few hours of drying, and reinstall any faucets that were unscrewed. Keep in mind, however, that moisture-resistant paint often takes a little longer to dry completely. It’s best to wait one to two days before using the bathroom as usual.